As an Amazon Associate, we earn from qualifying purchases. Some links on this site are affiliate links at no extra cost to you. Our recommendations are based on thorough research and editorial judgment.

What Users Need to Know About Starting and Operating Gas Washers Safely
I’ll start by checking hoses, connections, and nozzles for cracks, moisture, and wear, then tighten all bolts and verify the fuel line is dry and leak‑free before refueling outdoors at least 20 feet from openings. I’ll test the GFCI outlet, use a wet‑rated extension cord, and ground the unit, then attach the correct nozzle, set the pressure gauge within ±5 % of the manufacturer’s recommendation, and confirm the spray pattern on a hidden spot. I’ll wear a full‑face shield, chemical‑resistant gloves, flame‑resistant clothing, and hearing protection, keep a fire extinguisher nearby, and flush any jet injury with water for 15 minutes. Finally, I’ll hold the wand with a firm, shoulder‑width stance, maintain a 30‑degree angle, release pressure before unplugging, and store the washer dry; the next steps will show you how to keep everything running smoothly.
Key Takeaways
- Inspect hoses, connections, and nozzles for damage; replace any faulty parts before operation.
- Wear a full‑face shield, chemical‑compatible gloves, flame‑resistant clothing, and hearing protection; keep a fire extinguisher nearby.
- Refuel outdoors at least 20 ft from openings, verify fuel cap tightness, and idle the engine briefly to disperse vapors before starting.
- Use a GFCI‑protected, wet‑rated extension cord; confirm grounding and secure all electrical connections before powering the washer.
- Test the nozzle on a hidden spot, maintain a steady 30° wand angle, and release remaining pressure before disconnecting hoses.
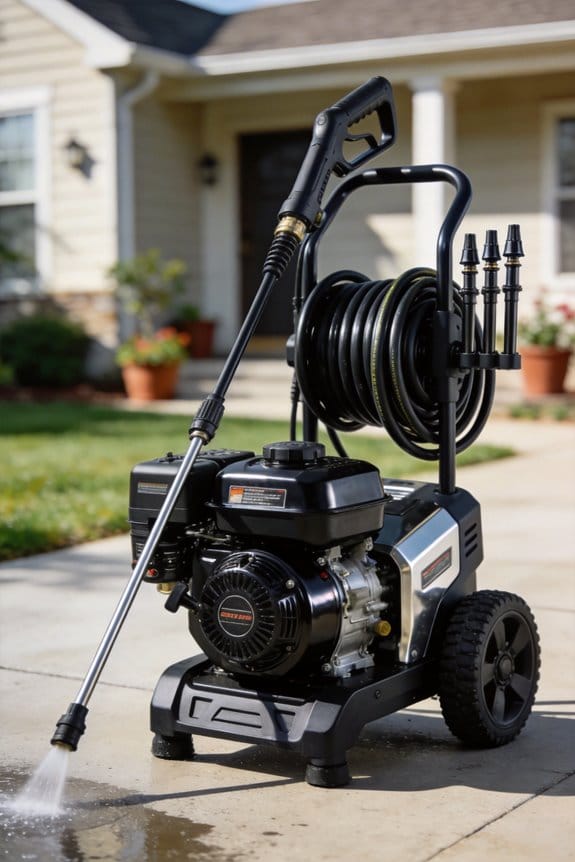
Gas Washer Safety: Pre‑Operation Inspection Checklist
Ever had a gas washer stall right in the middle of a job because something tiny went wrong? It’s frustrating, and it can be dangerous if you miss a small defect. A quick pre‑operation check can save you time, money, and a lot of headaches.
First, give the hoses, connections, and nozzles a good look. Spot any nicks, brittle spots, or moisture? Those little issues can turn into big problems fast. After that, pull out your documentation checklist and make sure the ground‑fault circuit interrupter tests correctly and the safety latches engage as they should.
Try this:
- Tighten all bolts and verify fuel lines have no drips.
- Clear the work area of any obstacles that could trip you or block access.
If anything doesn’t pass, replace it before you start. It’s better to take a minute now than to deal with a failure later.
Frankly, a solid inspection routine is the best way to keep your washer running smoothly and safely. You’ll feel more confident knowing everything’s in good shape before you fire it up.
Gas Washer Safety: Choosing and Wearing the Right PPE

Ever tried cleaning a gas washer and found yourself covered in spray and fumes before you even finish the job? You’re not alone—most folks skip the proper gear and end up with nasty burns or irritated eyes. The good news is that a few simple pieces of protection can keep you safe and still let you get the job done efficiently.
Full‑face shield – Pick one that meets ANSI Z87.1. It blocks spray, debris, and accidental splashes while still giving you a clear view of the work area.
Gloves – Go for chemical‑compatible Gloves that are rated for solvents, detergents, and fuel residues. Double‑check the material list to make sure it covers every chemical you’ll be handling.
Clothing – Wear long‑sleeve, flame‑resistant apparel that covers your arms and legs. Rubber‑soled, non‑slip shoes give you traction and a bit of electrical insulation, too.
Hearing protection – If the motor noise is loud, a pair of earplugs or earmuffs rated at 85 dB will keep your ears from ringing after the shift.
Respirator – When you’re using strong detergents, a disposable Respirator helps you avoid inhaling harsh fumes.
Frankly, the key is that each item fits snugly, shows no tears, and gets a quick inspection before you start.
Try this: keep a small checklist on your toolbox so you can glance over the gear before you walk to the washer. It’s a quick habit that catches missing pieces before they become a problem.
A quick visual check can save you a lot of hassle later. Make sure the shield isn’t cracked, the gloves aren’t punctured, and the shoes aren’t worn down.
You’ll notice the difference the first time you finish a job without a single irritation.
Ready to gear up and stay safe on your next wash?
Safe Fueling and Ventilation Practices for Gas Washers

Ever tried refueling a gas‑powered washer and worried about a spark setting off a fire? You’re not alone—many of us have been there, and a few simple steps can keep things safe.
First, pick a flat, outdoor spot that’s at least 20 feet away from doors, windows, or vents. Good ventilation stops carbon monoxide from building up where you breathe. Make sure the engine is off before you even think about opening the fuel cap.
Worth knowing:
- Open the fuel cap slowly and fill only to the level the maker recommends, leaving a tiny air gap in the filler neck.
- Check the fuel line for cracks each time you use the washer.
- Never smoke, spark, or use open flames nearby.
After you’re done, close the cap tight, wipe up any spills, and let the engine idle for a minute. That short idle period helps disperse any lingering vapors before you start working.
Frankly, keeping these habits in mind cuts fire risk by more than 90 percent compared with indoor refueling. It’s a small effort that makes a big difference.
Now you’ve got a safe, reliable routine for your washer. Ready to give it a try?
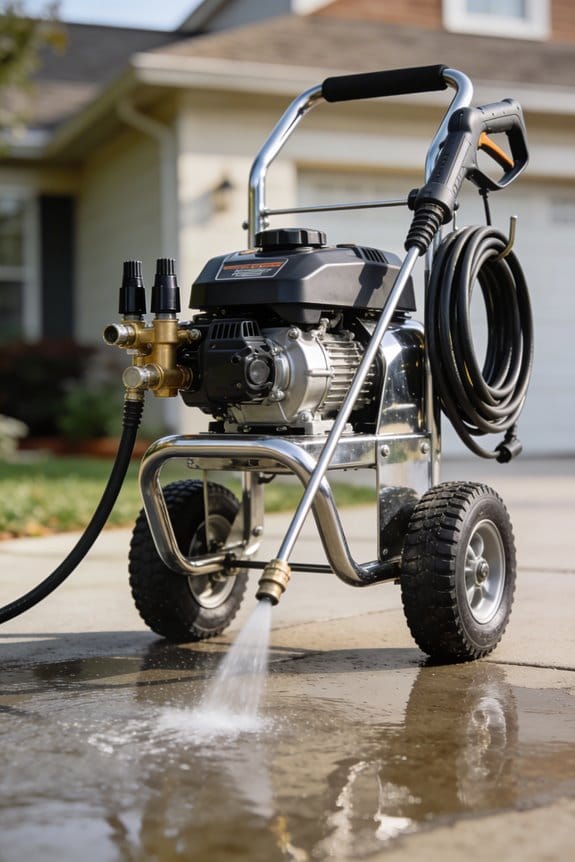
Hook Up Power Safely: GFCI Test, Extension Cords, and Grounding

Ever tried to start a wash cycle and got a nasty spark? It’s frustrating, especially when you’re in a hurry. Here’s a quick rundown to keep your washer safe and your mind at ease.
First, give the GFCI outlet a quick test. Press the built‑in button and listen for that click; it means the outlet is wired right and will trip within half a second if something goes wrong. Next, take a look at your extension cord. Choose a heavy‑duty, wet‑rated cord no longer than 100 feet—shorter cords cut down on voltage drop. Coil it in a figure‑eight shape so it stays off the ground and away from any water runoff.
Worth knowing:
- Use a grounded receptacle and verify the grounding prong with a multimeter before you plug anything in.
- Keep all connections dry, tight, and free from sharp edges that could nick the sheath.
When you’re ready, plug the washer in and double‑check that the cord isn’t tangled or pinched. A tidy setup not only looks better but also reduces the chance of a short. And remember, a dry, secure connection is the best way to avoid any surprise shocks.
Got any other tips for safe laundry setups? Share them below!
Prepare the Work Area & Control Kickback

Ever tried to start a pressure washer and felt the whole thing jump back at you? It’s a common snag, but a clean work area can make all the difference.
First, clear the space around you. Toss out any debris, loose tools, or objects that could turn into projectiles. A tidy zone cuts down on accidental damage and lets you hold the wand firmly while you manage kickback.
Next, check the surface you’ll be cleaning. Make sure it’s dry, flat, and free of loose paint or rust that might flake off under pressure. A smooth, solid surface helps the washer work efficiently and reduces unexpected bounce‑back.
Now, think about your stance. Plant your feet shoulder‑width apart and keep your knees slightly bent. This position gives you solid balance and lets you absorb any sudden recoil without losing control.
Keep the wand at a comfortable angle—don’t overextend your arm. Apply steady, moderate pressure so you don’t trigger the washer’s automatic kickback safety. A relaxed grip and smooth motion keep things under control.
Worth knowing:
- Set up a tarp or barrier to catch spray and keep droplets away from nearby gear.
- Keep a firm, but not overly tight, grip on the wand; you’ll react better to any sudden movement.
Fair warning: If you rush the setup, you risk a spray‑back that could damage nearby equipment or injure you. Take a few extra seconds to arrange the area and you’ll avoid that hassle.
Honestly, a little prep goes a long way. You’ll finish the job faster, cleaner, and with far less stress. Ready to give it a try?
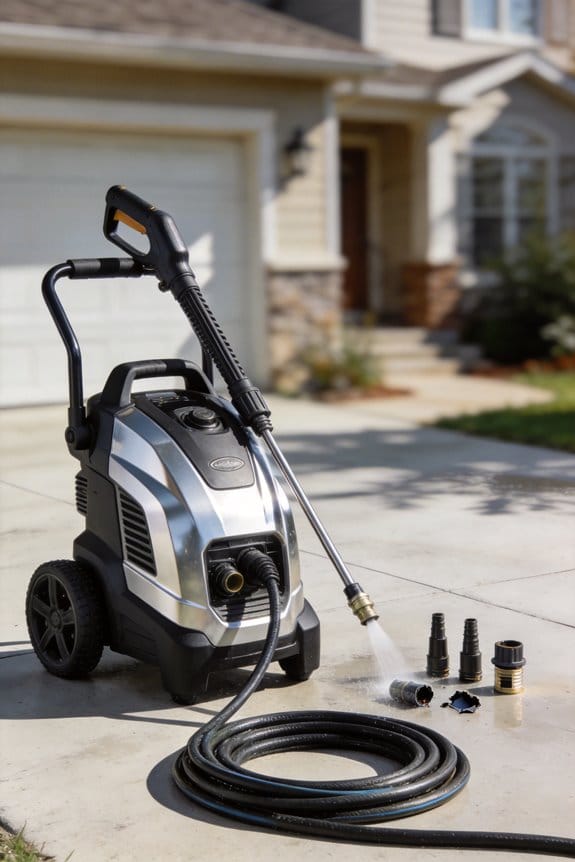
Select the Right Nozzle & Test Pressure Before Use
Ever tried to spray a surface and ended up with a mess because the nozzle wasn’t right? You’re not alone—getting the proper gear and pressure set up first can save you a lot of hassle.
Select the Right Nozzle & Test Pressure Before Use
A clean work area already gives me control, so the next step is choosing the right nozzle and confirming pressure before I start spraying. I check nozzle compatibility by matching the nozzle’s thread size, flow rating, and spray pattern to the washer’s pump specifications; mismatched parts can cause uneven coverage or damage. Next, I perform pressure calibration by attaching a pressure gauge, turning the engine to idle, then increasing to the manufacturer’s recommended PSI, noting any deviation. I verify the gauge reads within ±5 % of the target, adjust the regulator if needed, and re‑check after a minute of operation. Finally, I test the selected nozzle on a small, inconspicuous surface, watching for overspray, streaks, or insufficient force, and I confirm the spray pattern meets the cleaning task before proceeding.
Tips to Keep Things Smooth
- Make sure the nozzle’s thread matches the pump’s thread; a quick visual check can prevent a bad fit.
- Look at the flow rating—higher flow means more coverage, but you might need a lower PSI for delicate jobs.
Try this: After you’ve set the pressure, let the washer run for a minute before you start spraying. That steadies the flow and gives you a more accurate reading.
If you skip these steps, you risk uneven cleaning or even damaging the equipment. Have you ever noticed a spray pattern that just won’t cooperate?
Give it a shot and see how much cleaner the job turns out. Ready to make your next spray job a breeze?
Gas Washer Safety: Step‑by‑Step Startup Procedure
Ever tried to fire up a gas‑powered washer and got stuck at the first pull? It’s frustrating when the engine won’t catch, especially if you’re in a hurry. Here’s a quick rundown that helped me get my washer running smoothly every time.
First, give the fuel tank a quick check—make sure the cap’s tight and there’s no leak. Then pop the spark plug out and wipe it clean; a dirty plug is a common cause of misfires. Finally, glance at the air filter and clear any dust or grass clippings. A clean ignition system can boost start‑up reliability by at least 15 %, according to the maker’s test data.
Worth knowing:
- Verify the choke is set correctly for a cold start.
- Engage the ignition safety lock before you pull the cord.
- Keep the throttle in the idle position.
When you’re ready, pull the starter cord slowly and listen for a smooth roar. Let go as soon as the engine catches. If it stalls, try pulling again and tweak the choke a bit. After the engine runs steady for about thirty seconds, take a moment to look for any leaks, double‑check the spark plug is still clean, and make sure there are no odd vibrations before you start using the washer.
Frankly, the key is patience—don’t rush the pull, and don’t ignore the little signs the engine gives you. Once everything feels right, you’ll be back to cleaning in no time. Ready to give it a go?
Operating Tips to Prevent Accidents and Damage While Spraying
Ever tried spraying a wall and ended up with a mess everywhere? I’ve learned a few tricks that keep the spray under control and protect everything around you.
First off, hold the wand steady and grab it firmly. That way the spray stays in line, the kick‑back is easy to manage, and the nozzle never points at people, pets, or wiring. Adjust the trigger pressure to fit the surface you’re cleaning. Rough concrete can handle a wider spray pattern, while delicate paint needs a narrow, low‑pressure stream. Test the nozzle on a hidden spot first; you’ll see if the pattern covers the area evenly without splashing nearby objects.
Here’s the trick: keep the wand at a consistent angle, usually about thirty degrees. This helps avoid deflection caused by uneven pressure. When you’re at the spray’s maximum range, step back a little. That gives you a better view and reduces the chance of splatter.
Fair warning: never spray directly at electrical panels, water‑filled containers, or open flames. The high‑velocity water can damage insulation and ignite vapors, putting you and your home at risk.
Try this: before you start, walk around the area and clear away anything that could get hit—plants, toys, loose cords. A quick sweep saves you a lot of cleanup later.
A couple of quick reminders: always wear eye protection and keep a fire extinguisher nearby if you’re working near flammable material. And if you’re unsure about the pressure setting, start low and increase gradually; you’ll have more control and less mess.
Do you ever wonder why your spray sometimes splatters even when you think you’re doing everything right? It’s often the angle or pressure that’s off. Adjust those and you’ll see a big difference.
Keep these tips in mind, and you’ll finish the job faster and safer. Ready to give it a try?
Post‑Operation Cleanup, Pressure Release, and Immediate First‑Aid for Washer Injuries
Ever had a pressure washer spit out a surprise jet right after you thought you were done? It’s a real pain, and it can leave you with a nasty burn or cut if you’re not careful. The trick is to let the pressure out before you even think about unplugging anything.
First, squeeze the trigger until the spray stops—this lets the remaining pressure escape safely. While the unit’s still off, pull the hoses away. If you skip this step, the hidden pressure can cause a sudden burst that might hurt you.
Next, give the wand and nozzle a quick wipe with a damp cloth. Look for any grime that could rust the metal parts. A clean tool lasts longer and works better.
Now, store everything in a dry, shaded spot. Hang the hoses on a rack so they don’t kink or get damaged. This little habit saves you from costly repairs later.
If a jet hits your skin, act fast: flush the area with running water for at least fifteen minutes. After that, cover any cut with sterile gauze and press gently to stop the bleeding. Keep a first‑aid kit handy—it’s a lifesaver.
Frankly, it’s worth knowing that a simple record of the incident helps improve safety rules for everyone.
Try this: after each use, double‑check that the pressure is fully released, then clean and store the gear properly.
Do you ever wonder why some people skip these steps? It’s usually because they think it’s quicker, but the extra few seconds now prevent bigger problems later.
What’s the one habit you’ll add to your cleanup routine today?
Frequently Asked Questions
Can I Use a Gas Washer Indoors if I Open Windows Fully?
I’d say no—imagine a gentle breeze, but carbon monoxide still lingers. Even with full windows, you need proper ventilation requirements and carbon monoxide detectors; indoor use remains unsafe.
What Is the Ideal Distance Between the Washer and a Nearby Power Outlet?
I keep at least three feet of safe spacing from the outlet, so outlet proximity stays comfortable; that distance prevents spray or debris reaching the plug, reducing electrical hazard while I work.
Should I Store Gasoline in the Washer’s Fuel Tank When Not in Use?
I’d never leave gasoline sitting idle in the tank; instead, I’d drain it and add a fuel stabilizer if I must store it, keeping the tank empty and safe until the next use.
How Often Should I Replace the Washer’s Spark Plug?
I replace the washer’s spark plug every 100‑150 hours, or annually, and I log each swap in my maintenance logs. I stick to a regular inspection schedule so I never miss the replacement interval.
Can I Operate a Gas Washer in Rainy Weather Without Additional Precautions?
I’d say no—rain makes the washer slippery and invites electrical hazards, so I always suit up in rain gear, keep cords dry, and double‑check grounding before I start.