As an Amazon Associate, we earn from qualifying purchases. Some links on this site are affiliate links at no extra cost to you. Our recommendations are based on thorough research and editorial judgment.

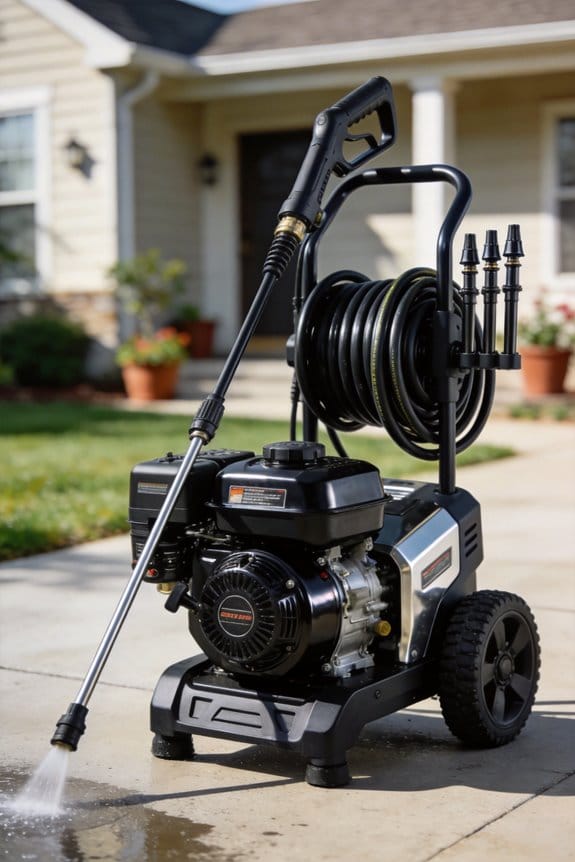
How to Winterize a Pressure Washer to Prevent Pump and Coil Damage
I’ll first determine if your washer is gas or electric, then gather a pump‑saver, glycol‑based antifreeze rated to –30 °F, a funnel, adjustable wrench, and a clean bucket. I’ll turn off the water supply, depressurize by pulling the trigger, let the engine cool, and run the pump three short cycles with about an ounce of antifreeze, draining after each run. Next I’ll flush the pump and lines with clean water, purge with 30‑40 psi air, and wipe all metal parts dry, applying a light oil film and corrosion inhibitor. Finally I’ll seal the inlet, label the storage date, and store the unit in a dry, temperature‑controlled area; continue for more detailed steps.
Key Takeaways
- Drain fuel, oil, and water completely; run the pump briefly with antifreeze to expel residual moisture.
- Run the engine with fresh gasoline plus stabilizer, then circulate a small amount of antifreeze through the pump to lubricate seals.
- Flush the pump and hoses with clean water, then purge with compressed air (30‑40 psi) to remove trapped water.
- Apply a light coat of corrosion inhibitor and oil to exposed metal, coil, and valve train before storage.
- Store the washer in a dry, temperature‑controlled environment, covering it with a breathable cover and labeling the treatment date.
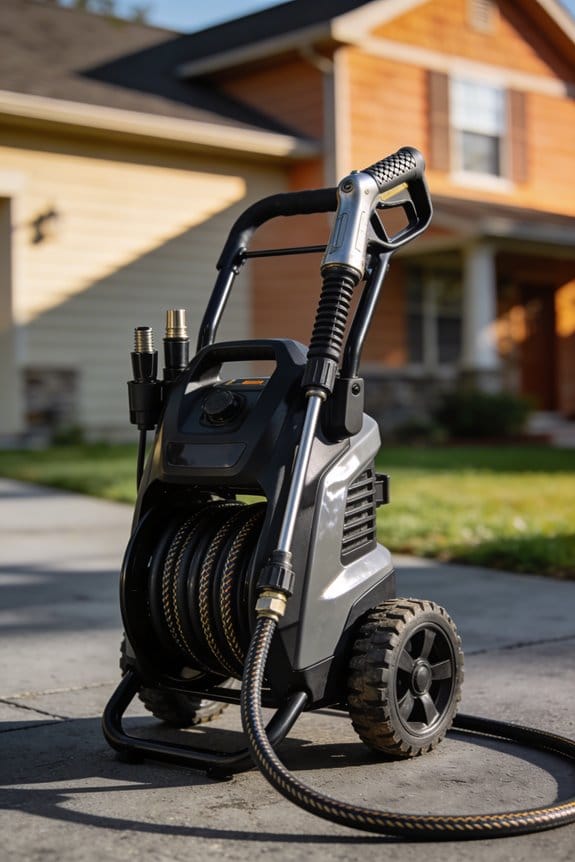
Pressure Washer Winterization: Pick the Right Method for Your Model
When the first frost hits, you’re probably wondering how to keep your pressure washer from turning into an expensive ice block. The first step is to figure out if yours runs on gas or electricity, because the winter‑prep steps differ a lot between the two.
I usually start by checking whether the model matches the winterizing kit the maker recommends. Using the wrong pump saver can stress the seals and even void the warranty, so it’s worth a quick glance at the manual. Next, I scan the warranty to see if antifreeze or fuel‑stabilizer is allowed—some brands are strict about that.
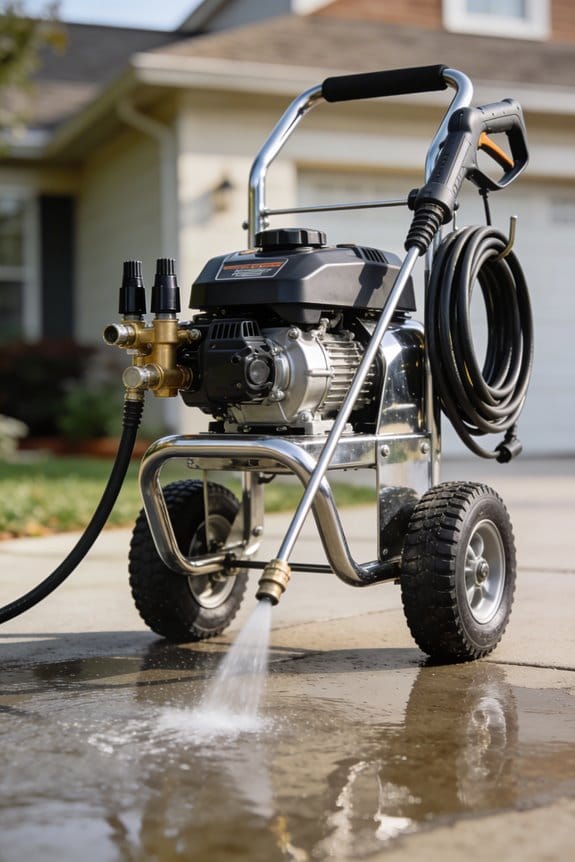
For gas‑powered units, here’s the trick: drain the fuel tank, add fresh gasoline mixed with a stabilizer, and let the engine run for a minute or two. Then, run the pump with a little antifreeze so the internal parts stay fluid when it gets cold. Electric models are simpler; just flush the pump with water, run a low‑pressure cycle, and add a small amount of antifreeze to keep anything from freezing.
Fair warning: high‑pressure units often have extra steps, so always follow the maker’s step‑by‑step guide. I keep a short note of what I did, which helps when you’re setting things up again next year.
Try this: after you finish, store the hose and wand in a dry place and cover the unit with a breathable cover to keep dust and moisture out.
[InternalLink:…]
Got a winter‑ready washer yet, or are you still hunting for the perfect kit?
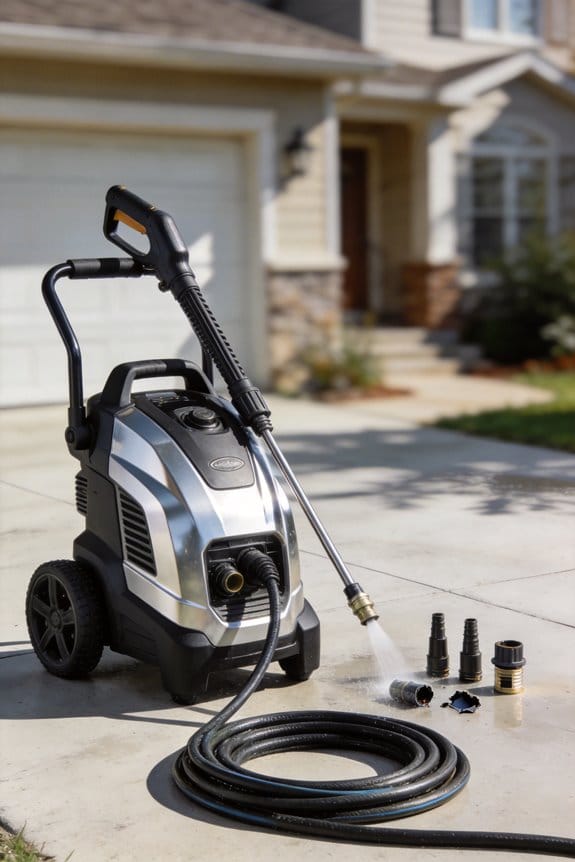
Gather Pump Saver, Antifreeze, and Required Tools

Ever noticed how a frozen pump can ruin your pressure washer before the first snow even hits? Before you start winterizing, gather the pump saver, a non‑corrosive antifreeze made for pressure washers, and the basic tools—adjustable wrench, screwdrivers, a small funnel, and a reliable air‑compressor gauge. I keep a list of pump saver types, from simple inlet‑hose kits to more robust closed‑loop systems, so I can pick the one that matches my machine’s flow rating and how long I’ll store it. The antifreeze I choose is glycol‑based, safe for seals, and stays fluid down to –30 °F, which stops freezing damage. I also pull out storage tools like a clean bucket for runoff, a rag for wiping excess liquid, and a sturdy workbench to keep parts steady while I pour.
Worth knowing:
- A clean bucket catches any stray liquid so you don’t make a mess.
- A rag helps you wipe away excess antifreeze before it dries on the pump.
When you set up a workbench, you keep everything stable, which makes pouring the antifreeze much easier. This preparation cuts out guesswork, gives you a consistent application, and lowers the chance of corrosion over the winter months. Frankly, it’s a small effort that saves you a lot of hassle later.
Give it a try and see how smooth your spring start‑up feels. Ready to keep your washer safe all season long?
Shut Down and Depressurize the Machine Safely

Ever had a pressure washer that just won’t calm down after you’re done? You’ve probably tried to shut it off, but the hidden pressure can still surprise you. Here’s the trick to make sure everything’s safe before you start any maintenance.
First, turn off the water supply. Then, squeeze the spray‑gun trigger until you hear all the pressure release. That little hiss tells you the system’s ready to be handled. Next, lock the trigger so the gun can’t fire by accident while you’re pulling hoses and the nozzle off.
Give the machine a few minutes to cool down—about five minutes is a good rule of thumb. This drops the engine and pump temperature down to ambient, cutting the chance of burns or stress on the parts. After the short wait, pull the recoil handle six times to push any leftover liquid out of the pump. Finally, drain water from every accessory completely before you move on to the next step.
- Turn off the water.
- Squeeze the trigger until pressure is gone.
- Engage the trigger lock.
- Wait five minutes for cooling.
- Pull the recoil handle six times.
- Drain all attached parts.
Doing it this way saves you from nasty surprises and keeps your washer in good shape. Ready to give your gear a safe, stress‑free clean‑up?
Run Antifreeze Through the Pump and Drain Excess Liquid
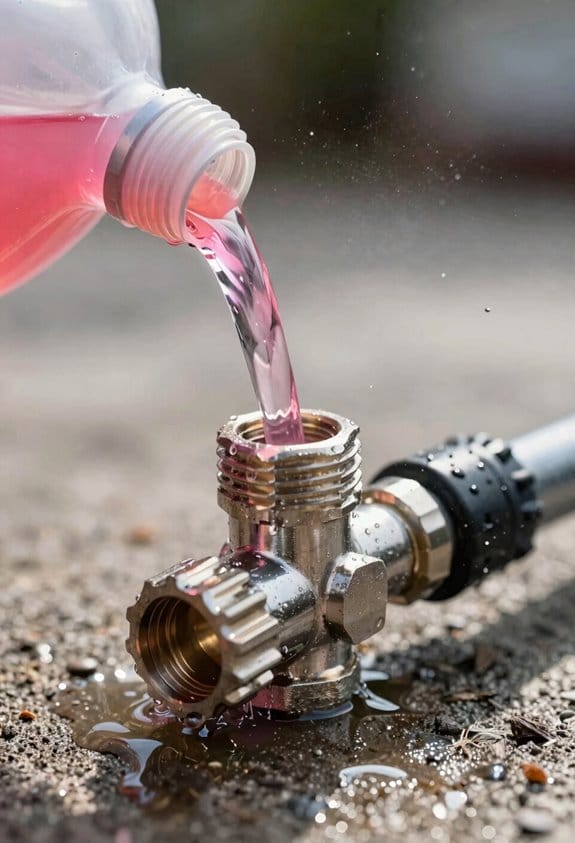
Ever had your pump freeze up or leak after a cold night? That nasty surprise can be avoided with a simple antifreeze routine that keeps the internals dry and protected.
First, check that the antifreeze you’re using works with the pump’s seals. I stick with a glycol‑based, non‑corrosive formula that the maker recommends. Pour about an ounce into the inlet, fire the trigger, and run the pump on low pressure three times. This pushes the fluid into every corner, swapping out water and giving the parts a thin lubricating layer.
After each run, open the drain valve and let the mixture flow out until nothing else comes out. You’ll see the pump’s lubricant layer stay intact, and the housing stays sealed. This step clears any moisture that could expand later and crack the pump.
Worth knowing:
- Use a pump‑compatible antifreeze; the wrong type can damage seals.
- Run the pump low‑pressure; high pressure can force fluid past the seals and cause leaks.
Try this:
- Fill the inlet with one ounce of antifreeze.
- Cycle the pump three times on low pressure.
- Open the drain valve after each cycle and let it empty completely.
Following these steps means your pump stays protected, the housing stays sealed, and you won’t have to worry about freezing damage during storage. Ready to give your pump the care it deserves?
Flush the Pump and Lines With Clean Water to Remove Residue

Ever noticed that your pressure washer sputters after a long season of use? That gritty, cloudy spray isn’t just annoying—it’s a sign that detergent, mineral build‑up, and even a bit of antifreeze are hanging out in the pump and hoses. Cleaning them out now can save you a lot of hassle later.
Start by hooking a garden hose onto the washer’s inlet and crank the valve all the way open. Run the machine on low pressure for about two minutes while clean water rushes through the pump and hoses. You’ll see a clear, steady stream coming out of the spray gun— that’s your cue that the residue is being flushed out. Keep the trigger pulled the whole time so the pump runs continuously; this pushes any trapped particles out of the internal seals and line interiors. Listen for any odd pulsations; they could mean a blockage or wear that needs attention.
After the two‑minute run, shut the valve, detach the hose, and take a quick look at the pump housing. If you still see deposits, give it another short flush before moving on to the next winterization step.
Worth knowing:
- Use a low‑pressure setting to avoid stressing the pump.
- Check the spray gun’s output; a clear flow means the cleaning worked.
Try this:
- Keep the trigger depressed for the full two minutes to force out hidden debris.
- Pay attention to any irregular sounds; they’re early warnings of potential issues.
Doing this simple rinse now keeps your washer ready for the next season and helps avoid costly repairs later. Ready to give your pump a fresh start?
Blow Out Remaining Water With Compressed Air for a Dry Pump
Got a pump that’s been sitting idle all winter? A little air can keep it from turning into an ice block.
First, hook up your garden‑hose inlet and crank the valve wide open. Let a quick burst of compressed air push any stray droplets out of the pump and hoses. Then close the valve to stop any back‑flow, set the compressor to about 30‑40 psi, and run an air purge for two minutes while you watch the pressure gauge settle. This pushes out water trapped in the pump chamber, internal passages, and hose fittings, cutting down the chance of freeze‑induced corrosion.
After a brief pause, close the valve again, then open it back up to make sure no moisture is escaping. If you hear a hiss, give it another quick purge. When you’re done, disconnect the hose, wipe the inlet dry, and store the compressor safely. Your pump will stay dry all through the cold months.
*Try this:*
- Keep the valve fully open while you start the air blast.
- Use a pressure of 30‑40 psi and run the purge for about two minutes.
That’s all you need to keep your pump in good shape until spring rolls around. Ready to give it a go?
Prepare the Fuel System for Winter Storage
Got a mower that’s sitting idle all winter? You’ll want to keep the fuel system happy so it’s ready to fire up when spring rolls around.
First, fill the tank with fresh gasoline and add the stabilizer the maker recommends. Run the engine for three to five minutes so the treated fuel reaches the carburetor, lines, and pump. After that, check the fuel filter—swap it out if you see any debris. Make sure the stabilizer mix follows the label’s ethanol‑mitigation guidelines.
Next, pour a little treated fuel into the carburetor bowl. That way the whole circuit stays saturated, which helps keep fuel economy up during storage and stops phase separation. Keep the tank tightly capped, store the washer in a cool, dry spot, and slap a label on it with the treatment date for future reference. This routine protects the pump, maintains performance, and cuts down on corrosion risk.
Frankly, a small extra step can make a big difference: before you close everything up, give the fuel lines a quick wiggle to release any trapped air. Worth knowing: a sealed tank and a cool storage area are key to keeping the fuel fresh all season.
If you follow these tips, you’ll avoid nasty surprises when you finally fire up the mower again. Ready to give your mower a smooth start after the cold?
Protect the Engine: Drain Oil, Treat Spark Plug, and Prevent Rust
Ever noticed how a little rust can turn a perfectly good engine into a costly headache after a few months of storage? You’ve probably tried draining the oil, but the spark plug and hidden metal parts still need a bit of love to stay dry and rust‑free.
Drain the engine oil completely. Then, pour about a half‑ounce of fresh oil onto the spark plug and pull the recoil twice so the oil spreads into a thin film inside the combustion chamber. That film, plus a clean, well‑lubricated plug, keeps rust at bay and cuts down wear while the engine sits idle. After that, wipe the plug threads, check the gap, and put it back, making sure the gap matches the manufacturer’s spec so you don’t get mis‑fires later.
Worth knowing:
- Spray a light coat of corrosion inhibitor on any exposed metal—think cylinder head and valve train.
- Add a thin oil film to the crankcase vent and any bolts that could trap water.
Next, give the washer a home that’s dry and temperature‑controlled. Seal the engine compartment as best you can to keep humidity out, and you’ll be set for months without a worry.
Fair warning: if you skip any of those steps, you might end up with a sticky plug or rust‑eaten metal that needs a costly rebuild.
Got any other storage tricks that have worked for you? Let’s hear them!
Clean the Exterior and Apply a Protective Coat
Ever notice how a fresh‑look washer can make your whole garden feel brighter?
After you’ve finished protecting the engine, the next step is to clean the washer’s exterior before you add a protective coat. Grab a damp cloth and wipe down the frame, hose reel, and spray gun, then dry each surface thoroughly so no moisture stays behind.
Frankly, rust is the enemy, so give metal parts a quick look. If you spot any, coat the spot with a light oil film and touch up paint where it’s needed.
Here’s the trick: use a non‑abrasive polish. Work it into the metal and plastic until the finish shines uniformly, then wipe away any residue and make sure no streaks are left.
- Apply wax in thin, even layers.
- Let each coat cure before adding the next one.
Doing this creates a durable barrier against winter moisture and UV exposure.
Your washer will stay looking sharp all season long. Ready to give it a quick once‑over?
Pressure Washer Winterization: Store for Short‑ or Long‑Term Use
Ever noticed how your pressure washer sits idle all winter and you worry it’ll be a mess when spring rolls around? You’re not alone—most of us dread the costly repairs that sneak up after a cold spell. Below is a practical, step‑by‑step guide to keep your machine happy, whether you’re tucking it away for a couple of months or a whole season.
Short‑term storage (under two months)
- Drain the fuel, oil, and water completely.
- Run the pump with a splash of antifreeze to push out any leftover moisture; this stops rust and coil damage.
- Add a small amount of antifreeze back into the pump and pour a fuel stabilizer into the tank.
- Put the washer on a sturdy shelf that saves space and lets you grab it quickly when you need it.
Long‑term storage (over two months)
First, empty the fuel system, engine oil, and water lines. Seal the inlet with a plug so nothing can sneak in. Store the unit in a dry garage where there’s some indoor ventilation—this keeps mold and rust at bay. Finally, drape a breathable tarp over the machine, lock the trigger, and label the storage date so you’ll know exactly when you packed it up.
Worth knowing: When you’re ready to fire it up again, give the pump a quick run with fresh water to clear any lingering antifreeze. That simple step can save you from a surprise leak later.
Frankly, a little effort now means you won’t be scrambling for repairs when the snow melts. Got any extra tips for winterizing tools? Let’s hear them.
Frequently Asked Questions
Can I Use Regular Car Antifreeze Instead of RV Antifreeze?
I’d say no—regular car antifreeze isn’t automotive‑compatible for a pressure washer; it contains ethylene glycol, which can corrode seals. Use RV‑specific antifreeze to protect the pump and coil.
Will Winterizing Affect the Pressure Washer’s Warranty?
I’ll tell you: winterizing won’t void the warranty if you follow the manual, but keep a service record. That way warranty transferability stays intact and any future claims are straightforward.
Do I Need to Disconnect the Battery Before Storage?
I’ll tell you straight: yes, you should disconnect the battery. It’s a simple step on the safety checklist that prevents accidental discharge and protects the electronics while the washer sits idle.
How Often Should I Repeat the Winterization Process Each Year?
I repeat the winterization each year, typically doing annual checkups and setting seasonal reminders, so I never miss a step and keep my pressure washer ready for spring.
Can I Store the Pressure Washer Outdoors With a Weatherproof Cover?
I wouldn’t keep it outdoors, even with a weatherproof cover; I’d store it in a dry spot with good covered ventilation, so moisture can escape and rust won’t form on the pump or coil.