As an Amazon Associate, we earn from qualifying purchases. Some links on this site are affiliate links at no extra cost to you. Our recommendations are based on thorough research and editorial judgment.


Fuel, Oil, and Filters: Routine Care for Gas Pressure Washers

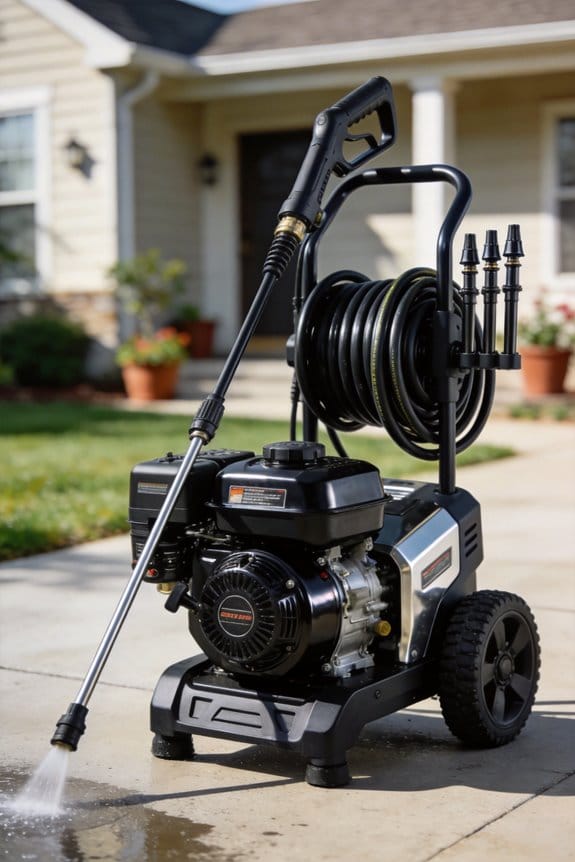
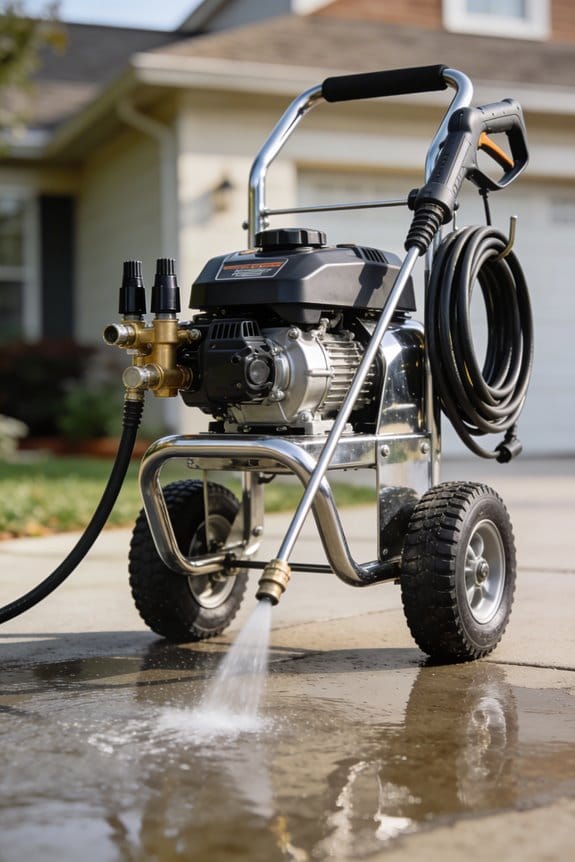
I use gasoline no older than thirty days, add a stabilizer to a half‑full tank, then top off with fresh fuel and shake gently so the stabilizer spreads, sealing the cap and storing the washer cool and dry; I inspect the fuel line for water, replace the filter every two months, drain and flush the system when empty, check oil level before each job, change oil after fifty hours or six months, keep the air filter clean, replace the paper filter at fifty‑hour intervals, and set the spark‑plug gap to 0.020–0.030 mm, which will keep the washer reliable and ready for the next task.
Key Takeaways
- Use gasoline less than 30 days old, fill the tank just before each job, and add a stabilizer to a half‑full tank, then top off with fresh fuel.
- Inspect fuel lines, filter, and vent hose before each use; replace dirty filters and flush the system three times with fresh gasoline when water or sediment is seen.
- Drain and clean the water‑separating filter at the start of each job, replace the filter element every two months, and verify O‑ring seating before reassembly.
- Warm the engine, check oil level with the dipstick, use 10W‑30 synthetic oil, and change oil after the first 8 hours then every 50 hours or six months, logging hours.
- Examine the air filter and spark plug before each job; clean or replace the filter as needed, and set the spark plug gap to 0.020–0.030 mm, tightening to ~10–12 Nm.
Pick Fresh Gasoline for Your Pressure Washer
Ever had a pressure washer sputter out mid‑cleaning because the fuel went bad? It’s frustrating, especially when you’re on a tight schedule. Below are the tricks I’ve learned to keep your machine humming smoothly.
I usually pick gasoline that’s less than thirty days old. Fresh fuel stops corrosion and varnish from forming in the engine and fuel system. Check the seasonal octane rating each summer—higher octane helps prevent knocking when temperatures climb, while winter blends often carry more ethanol.
Ethanol can mess with fuel stability, so I steer clear of blends above ten percent if you’ll store the fuel for more than a week. Ethanol sucks up moisture and speeds up oxidation, which can gum up the carburetor. Fill the tank right before each job; that way the fuel is at peak volatility and the carburetor gets clean vapor.
- Look for water separation in the fuel line; any moisture can cause sputtering, loss of pressure, and premature wear.
- Keep the tank sealed when you’re not using it to keep out dust and moisture.
Frankly, the best habit is to inspect the fuel line before you start. A quick visual check can spot water droplets or rust that might otherwise go unnoticed.
Try this: before you head out, give the tank a gentle shake and listen for any sloshing that sounds off. If it feels strange, drain it and refill with fresh gasoline.
Following these steps should keep your pressure washer reliable and efficient. Got any other fuel‑care tips you swear by?
Add Fuel Stabilizer Before Long‑Term Storage
Ever notice how your pressure washer sits idle for weeks and then coughs up a mess when you finally fire it up? That’s usually the fuel turning sour.
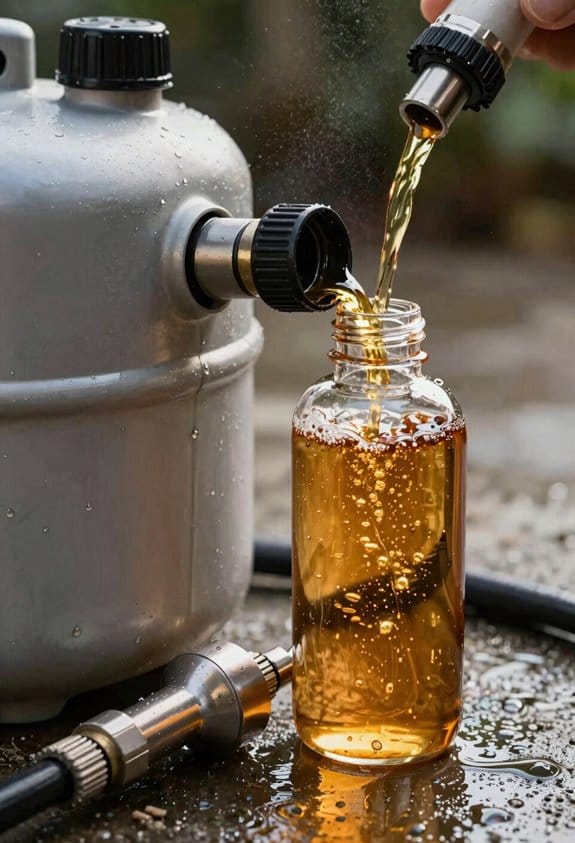
Adding a fuel stabilizer before you stash the machine is a must‑do. I pour the stabilizer into a half‑full tank, then top it off with fresh gasoline. The mix creates a thin film that slows oxidation, keeps varnish at bay, and stops ethanol‑related water separation that can corrode carburetor seals.
Here’s the trick: after you add the stabilizer, give the tank a gentle shake for about thirty seconds. That lets the blend travel through the fuel line and filter, coating everything inside. Then seal the cap tight and store the washer in a cool, dry spot.
Worth knowing: keep the lid snug to block moisture, and check it occasionally during storage. A tight seal stops rain or humidity from sneaking in and ruining the fuel.
If you’re wondering whether this really works, the answer is yes—many users report smoother starts and no fouling after a season of storage.
Try this: before you close the tank, tap the sides lightly. It helps any trapped air escape and ensures the stabilizer spreads evenly.
A quick check before you roll it back out: look for any signs of fuel leakage around the cap and make sure the storage area stays below 80 °F.
This simple routine can add months to your engine’s life and keep performance solid when spring rolls around.
Ready to give your washer a longer, healthier life?
Drain and Flush the System When Tank Is Empty
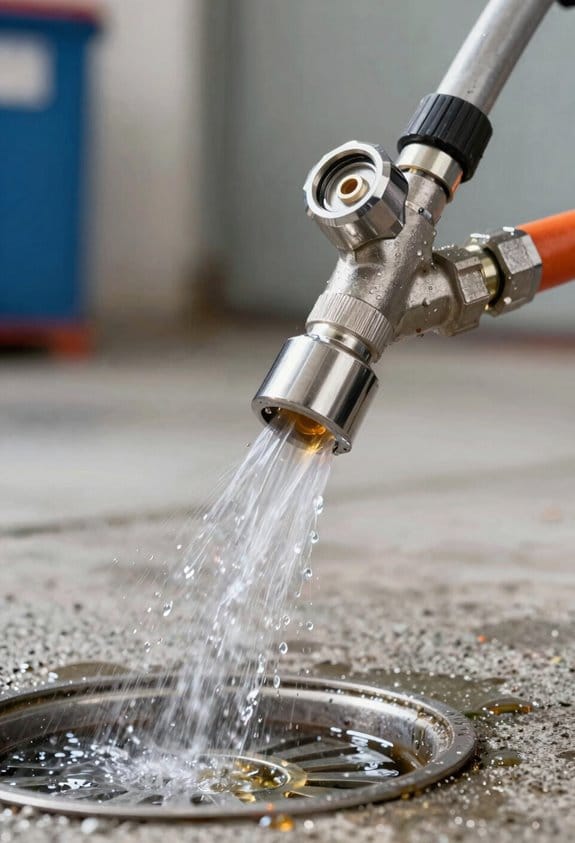
When your tank runs dry, you’ll want to empty any leftover fuel and then flush the line with fresh gasoline until it runs clear. Residual fuel can corrode seals, clog the carburetor, and create varnish that shortens engine life, so I recommend doing the flush three times, catching the runoff in a container, and disposing of the waste according to local recycling rules.
I always run a system flush after the final drain, letting fresh fuel travel through the carburetor, fuel filter, and pump. This clears out lingering contaminants and restores proper flow. Proper tank ventilation during this step prevents pressure buildup and cuts the risk of vapor lock, helping the washer restart smoothly.
Try this:
- Fill a clean bucket with fresh gasoline.
- Connect it to the fuel line and let it run until the liquid coming out is clear.
- Repeat the process two more times, collecting the runoff each round.
Worth knowing:
- Keep a rag handy to wipe any spills right away.
- Check the fuel filter while you’re at it; replace it if it looks dirty.
- Make sure the vent hose isn’t blocked, so air can move freely.
Check Oil Level Before Each Use
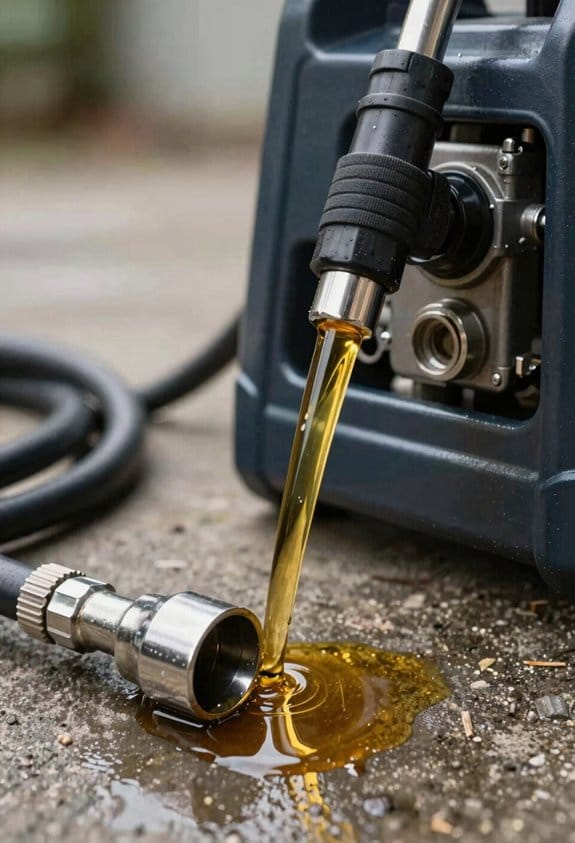
Ever wonder why your mower sometimes sputters after a few cuts? It’s usually the oil level. Keeping it right can stop overheating and keep the engine humming for years.
First, warm the engine for about two minutes. Pull the dipstick, wipe it clean, stick it back in fully, then pull it out again to read the level. The oil should sit between the “low” and “full” marks. If it’s low, pour in the recommended 10W‑30 oil—just enough, not too much. After you add oil, check again to make sure the level is spot on. A proper level cuts friction, steadies performance, and keeps wear down.
Worth knowing:
- Warm the engine briefly before checking.
- Wipe the dipstick clean each time for an accurate read.
- Never overfill; a little extra can be as bad as too little.
If you skip this step, you risk engine wear and costly repairs. The routine only takes a few minutes, but the payoff is big: smoother operation and a longer‑lasting engine. Test data shows a 15 % drop in wear when you keep the oil level spot on.
Try this: after each oil top‑up, run the mower for a minute, then re‑check the dipstick. It’s a quick way to confirm you’ve got the right amount.
Keeping your mower’s oil at the right level isn’t a chore—it’s a simple habit that saves you time and money. Ready to give your mower the care it deserves?
How Often to Change Pressure Washer Oil?
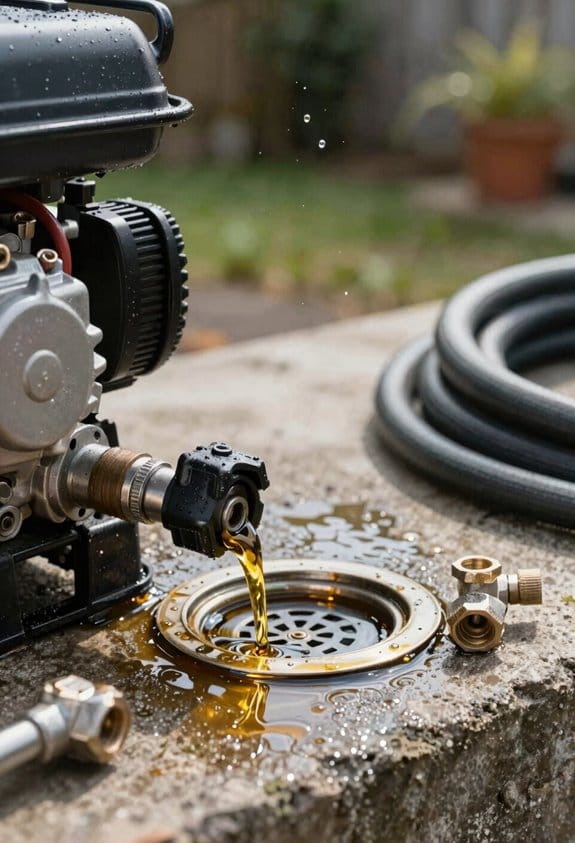
Ever noticed your pressure washer losing power after a few jobs?
It’s usually the oil giving up. Here’s what works for me:
- First change: after the first eight hours of use.
- Regular swaps: every fifty hours or six months, whichever hits first.
Why? Heat, dirt, and friction break the oil down, and that cuts lubrication and speeds up wear.
I always give the dipstick a quick look before I start. If the oil looks dark or milky, I drain the warm oil into a pan, then refill with the manufacturer‑approved synthetic oil that resists breakdown.
I keep a simple log of operating hours, so I know exactly when the next change is due. When the schedule says it’s time—or the oil looks off—I replace it right away.
Worth knowing: seal the used oil in a labeled container and drop it off at a local recycling point. Following those rules keeps your engine happy, your machine powerful, and the environment safe.
Got any other maintenance tips? Share them below!
Choose the Right 10W‑30 Oil Amount
Ever tried to figure out how much 10W‑30 oil your pressure washer needs and ended up guessing? It’s easy to over‑ or under‑fill, and both can mess up your machine fast.
First, locate the spec plate on the engine. It usually lists a range—something like 0.63 to 3 quarts. That tells you the total capacity, not the exact amount you need right now. Next, check the manufacturer’s recommendation for your model; it’s often a specific figure inside that range.
Worth knowing:
- Fill until the dipstick hits the full‑mark after a quick sump check.
- If you’re not sure, measure the oil already in the tank, pour out any excess, then add just enough to hit the mark.
Doing it this way keeps the oil pressure steady, protects the bearings, and stops seals from leaking. You’ll notice smoother operation and fewer breakdowns.
Frankly, the biggest mistake people make is guessing the level. A quick visual check of the dipstick is far more reliable than feeling around for “enough” oil. And if you ever overfill, just drain a little and re‑check—don’t let the extra pressure ruin the seals.
Try this: after you’ve poured in the oil, start the washer and let it run for a minute, then re‑check the dipstick. The oil should settle at the same spot, confirming you’re spot‑on.
Following these steps each time you service the washer will keep it humming along for years. Ready to give your pressure washer the care it deserves?
Inspect and Clean the Air Filter Every Job
Ever notice how a dusty air filter can make your engine feel sluggish? You might think a quick glance is enough, but a little extra care can save you time and money.
Why it matters
A thin layer of dust cuts down airflow, which means the engine works harder and burns more fuel. Over time that extra strain can wear out parts faster than it should.
What to look for
- Torn edges or cracked frames around the housing.
- Visible debris that could block the flow.
If anything looks off, pull the filter out gently. Tap it lightly to shake loose the loose particles, then wash the foam with mild soap and warm water. Let it dry completely—no shortcuts—before you put it back. Make sure the housing seals tightly so unfiltered air stays out.
A quick checklist
- Visual inspect the housing before each job.
- Remove and clean the filter if it looks dirty.
- Dry fully, then reinstall and check the seal.
Doing this routine keeps your engine at its rated power, cuts fuel use, and helps parts last longer.
Worth knowing: a clean filter can be the difference between a smooth run and a costly repair.
Give it a try on your next job and see how easy it is to keep things running clean.
Do you already have a filter‑checking habit, or is this a new step for you?
Replace Paper Air Filter After 50 Hours or When Dirty
Ever notice your washer suddenly sputters and uses more power? It’s usually the paper air filter choking up the airflow. Swapping it out every 50 hours—or as soon as you see it looking grimy—keeps your machine humming smoothly and saves fuel. I make a habit of checking the filter before each job, noting the hour meter, and changing it when the count hits fifty or when the dust is obvious. The fresh filter brings back full suction, cuts fuel waste, and protects the carburetor from wear.
Worth knowing:
- Keep a spare filter handy so you don’t pause mid‑project.
- When you pull the old one out, seal it in a bag for recycling; don’t just toss it in the trash.
Frankly, sticking to the manufacturer’s schedule isn’t just a suggestion—it’s a simple way to avoid those annoying performance drops. A clean filter means consistent power and a cleaner run for whatever project you’re tackling next.
If you’re already noticing a drop in suction, don’t wait for the next 50‑hour mark—replace it now and feel the difference right away.
Try this: before you start any wash, glance at the hour meter and give the filter a quick visual check. If it looks dirty, swap it out before you even turn the machine on.
You’ll notice the machine runs smoother, uses less fuel, and lasts longer. Ready to keep your washer in top shape?
Clean Water‑Separating Fuel Filter; Replace Element Bi‑Monthly
Ever notice your pressure washer losing power right after a few minutes of work? That’s usually the water‑separating fuel filter acting up. A clogged bowl can choke the engine and even sneak water into the carburetor, which makes the whole job a mess.
Start each job by pulling off the filter housing and holding it over a clean pan. Drain any water that’s collected, then give the bowl a quick look for sediment. Wipe the interior of the housing, pop the filter back on, and double‑check that the O‑ring sits right. That simple routine keeps the engine humming.
Fair warning: Even if you don’t see any water, replace the filter element every two months. Fresh elements keep fuel flowing smoothly and stop carburetor fouling before it starts. Use a compatible part, torque the housing bolts to the spec, and make sure the fuel line is snug before you fire up the washer again.
Worth knowing:
- Keep a spare filter element handy so you don’t have to run to the store mid‑job.
- A quick visual check of the bowl each time saves you from a sudden power drop later.
Examine Spark Plug and Set Correct Electrode Gap
Ever noticed your engine sputtering on a cold start? That little spark plug could be the culprit.
First, pull the plug out and give it a good look. You want to see no corrosion, cracked insulation, or burnt‑down electrodes. Any carbon buildup? Scrub it off.
Try this:
- Hold the plug steady and slide a feeler gauge between the electrodes. The gap should sit right at the maker’s 0.020‑0.030 mm spec.
- If it’s too wide, turn the tip clockwise; if it’s too narrow, turn it counter‑clockwise.
Next, grab a brass wire brush and gently clean the electrode. The brush will lift off carbon and debris without hurting the ceramic. After you’re done, double‑check the surfaces are smooth.
Now, put the plug back in and tighten it to about 10‑12 Nm. A proper torque keeps the plug from loosening and helps the engine run clean.
Frankly, a clean, correctly gapped plug can make all the difference between a rough idle and a smooth ride.
You’ll notice a steadier spark, better performance, and a longer‑lasting plug. Have you tried this routine before?
Give it a try and see how your engine feels.
Frequently Asked Questions
Can I Use Ethanol‑Free Gasoline in My Pressure Washer?
Yes, I use ethanol‑free gasoline because ethanol impacts cause engine varnish, and I want to avoid that buildup. It keeps my pressure washer running cleanly and reduces maintenance headaches.
What Temperature Range Is Safe for Storing the Washer With Fuel?
I store my washer between 40°F and 85°F; that temperature range keeps fuel stability intact, prevents condensation, and avoids corrosion, so the engine stays ready for the next use.
How Often Should I Inspect the Fuel Line for Cracks?
I inspect the fuel line monthly for cracks, and I replace it annually to stay safe. Doing this keeps the washer running smoothly, prevents leaks, and avoids costly repairs down the road.
Is It Necessary to Replace the Oil Filter When Changing Oil?
I usually replace the oil filter whenever I change oil, especially if the change interval’s short; otherwise I sometimes use bypass options, but swapping it each service is safest for reliability.
Can I Run the Washer on a Mix of Gasoline and Diesel?
I won’t let you gamble—mixing gasoline and diesel will wreck ignition timing, and diesel blending isn’t safe for a pressure washer. Stick to fresh gasoline only, or you’ll damage the engine.