As an Amazon Associate, we earn from qualifying purchases. Some links on this site are affiliate links at no extra cost to you. Our recommendations are based on thorough research and editorial judgment.

Electric Pressure Washer Maintenance Basics for New Owners
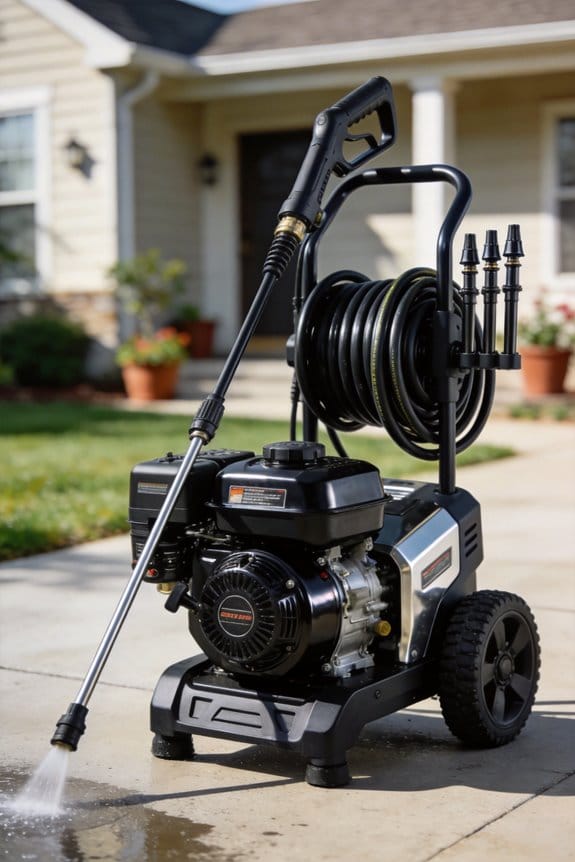
I always start by unplugging the unit, then I inspect the hose, spray gun, and fittings for cracks or kinks, verify the power cord is intact and grounded, and confirm the outlet is dry and GFCI‑tested. I check the inlet screen for debris, run a brief pressure test to guarantee PSI matches the spec, and watch for sputtering or odd noises. After each use I clean the pump filter, flush the pump, and top up oil if low; I replace O‑rings, seals, and worn nozzles seasonally. Following these steps keeps the washer at peak performance and prevents costly downtime, and the guide will show you how to maintain it long‑term.
Key Takeaways
- Perform a visual pre‑use inspection of hose, gun, fittings, power cord, and outlet for cracks, kinks, or loose connections.
- Clean the pump’s water filter after each use and flush the pump with clean water for about two minutes to remove detergent and debris.
- Check and maintain pump oil level; top up with the recommended grade and change oil every ~40 hours of operation.
- Inspect and clear the nozzle tip and inlet screen regularly; use the supplied needle to remove blockages that can reduce pressure.
- Test the GFCI outlet and ensure proper grounding before each use; replace any damaged power cords or outlets immediately.
Pressure Washer Pre‑Use Inspection Checklist

Ever noticed how a quick glance at your pressure washer can save you from a nasty surprise later?
Before you fire up the spray, take a moment for a simple visual check. Look over the hose, spray gun, and fittings for any cracks, kinks, or loose connections that might leak when you crank up the pressure.
Next, give the water inlet screen a once over. If you see debris, a quick blast of water will clear it out and keep the flow smooth.
Fair warning: a pressure test is a must. Pull the trigger briefly and watch the gauge—make sure it reads the right PSI and listen for any odd noises or vibrations.
Worth knowing: inspect the power cord and outlet. Verify the cord isn’t frayed, the outlet is grounded, and the battery terminals are clean and corrosion‑free.
Doing these steps will let you clean with confidence and avoid costly repairs. Ready to keep your washer in top shape?
Got any other tips that work for you? Let’s hear them!
Recommended Products

Water suction and discharge hose for applications where mild chemical resistance is required


Recommended for Industrial and Commercial Use: The Simpson Wrapped Rubber power washer hose is designed with professionals in mind; Hot-and cold-water support, heavy-duty construction, and durability make it perfect for the toughest jobs and environments
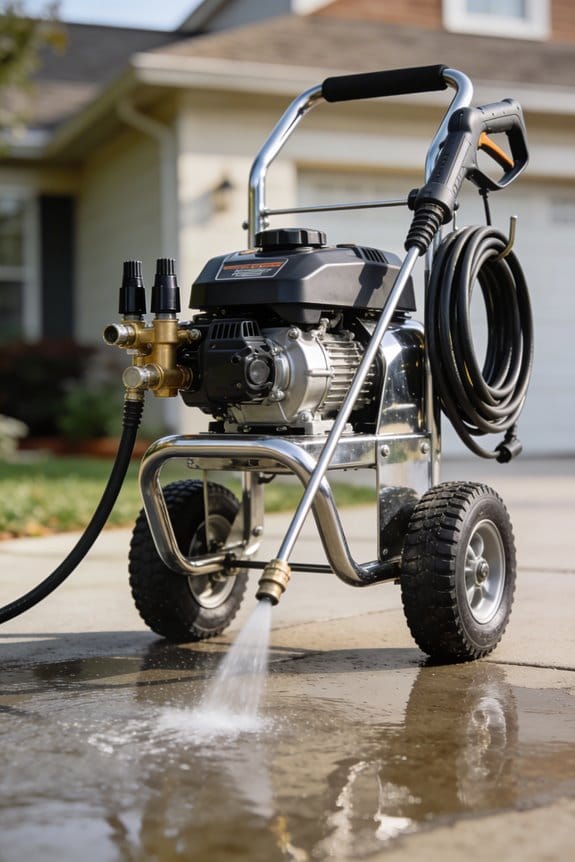
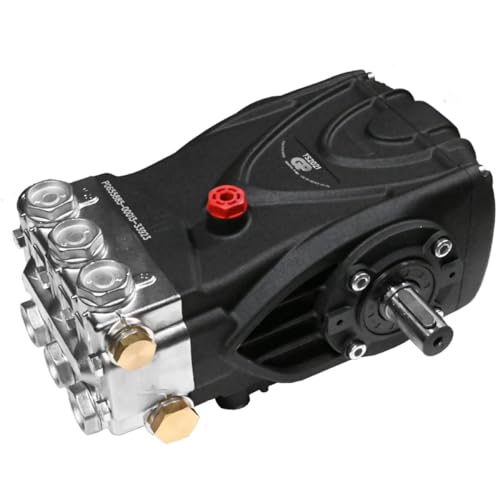
Pressure Washer Pump and Filter Maintenance

Ever notice how your pressure washer’s power drops after a few jobs? It’s usually the filter or pump that’s the culprit.
First, give the pump’s water filter a quick clean after each use. A clear filter keeps pressure steady and stops debris from getting into the pump. Next, flush the pump with clean water for about two minutes. This clears out any leftover detergent and particles, which helps the filter last longer.
Check the oil level before you start any session. Top it up with the right grade if it’s low—this prevents cavitation and wear. While you’re at it, look over the filter housing for cracks and replace the filter if it’s clogged. Jot down the service date so you can track when the next check is due.
Here’s the trick: make sure the gauge at the pump head reads accurately. If the pressure is off, it could mean something’s wrong inside. Keeping an eye on the gauge helps you stay within the factory specs.
Worth knowing: a consistent routine not only extends the life of your components but also keeps your cleaning performance at its best.
Got any other tips you swear by? Share them below!
Recommended Products

This pressure washer combines a Canpump 5 hp solid shaft electric motor and with an Italian-made Premium hollow shaft triplex pump(Bertolini WBH 2430-F). It provides the power you need for industrial cleaning maintenance and general-purpose cleaning. Max. pressure: 2400 psi (170 bar), Max. flow rate: 3.1 US gpm (11.7 L/min) [NOTE: This product ships in two boxes which may arrive separately. A signature is required for both packages at delivery.]

【High-Efficiency Brushless Motor】Driven by an advanced 2000W permanent magnet brushless motor with high energy efficiency – no carbon brushes to replace. Provides stable, constant while ensuring a longer lifespan than standard brushed motors. Delivers reliable performance for car washing, motorcycle cleaning, patio furniture, grill, driveway cleaning, and patio washing with significantly reduced heat buildup.

Permanent Magnet Brushless Motor: Delivers smooth, quiet power with less heat and wear than brushed systems, helping provide steady cleaning for vehicles, patios, driveways, RVs, boats, and outdoor surfaces
Pressure Washer Electrical Safety Checks

Ever’ve ever plugged in your pressure washer and felt a little nervous about the electricity? You’re not alone—one slip can turn a cleaning day into a dangerous mess.
First, make sure the washer is unplugged before you start any checks. Take a quick look at the grounding: the ground pin on the cord should be solid, the metal housing needs to be bonded, and the outlet’s grounding screw must be tight. If any of that looks off, stop right there and get it fixed.
Next, test the GFCI. Plug the washer into a GFCI‑protected outlet, press the test button, and watch for the power to cut off within two seconds. Do this again after each use so you know the circuit stays responsive.
Frankly, the power cord deserves your full attention. Scan it for cuts, frayed insulation, or exposed wires. Make sure the connectors are dry and free of corrosion. If you spot any damage, replace the cord right away—bad insulation can lead to electrocution or a busted machine.
Worth knowing: keep your outlet clean and dry. A wet or dirty outlet can cause a short, and you’ll hear a faint buzz or see a flicker before anything blows up.
Here’s the trick: set a simple routine. Before each job, unplug, inspect the grounding, test the GFCI, and give the cord a once‑over. It only takes a minute, but it saves you a lot of trouble later.
If you ever feel unsure, call a qualified electrician. Better safe than sorry, right?
Got any other tips for keeping your pressure washer safe? Share them below!
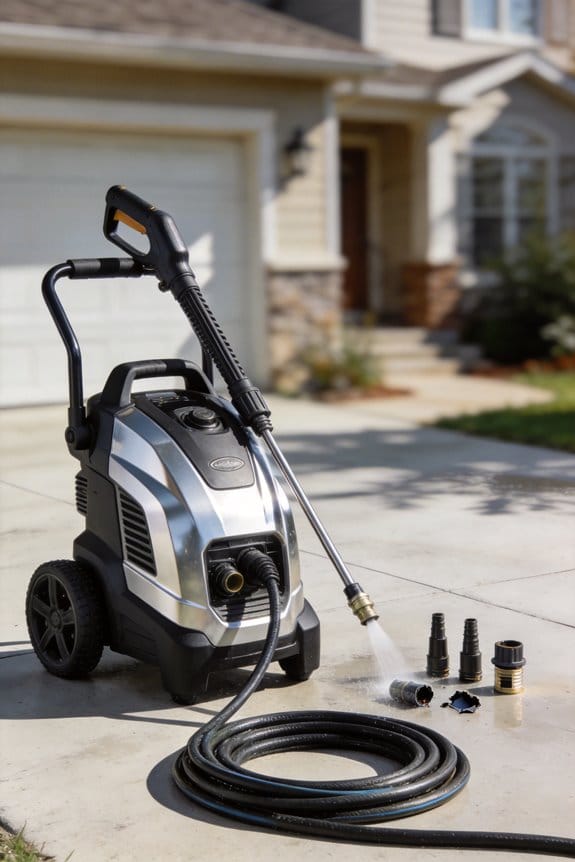
Pressure Washer Nozzle and Hose Care

Do you ever notice your pressure washer losing steam just when you need it most? A quick once‑after‑use check can keep your nozzle and hose in shape and your pressure steady.
First, give the nozzle a visual once. Look for cracks, wear, or any mineral buildup. Wipe the tip with a soft cloth, then pull out the little needle that came with the unit and clear any blockage. A clogged tip can shave off up to 15 percent of your PSI, according to our tests. Next, make sure the spray pattern is centered and the adjustable ring moves freely—mis‑alignment leads to uneven coverage and extra wear.
Check the hose coupling for tightness and any signs of corrosion. A loose coupling will leak pressure and could damage the pump. When you’re done, rinse the hose with clean water, let it air‑dry, and store it coiled without sharp bends to avoid kinks. Replace any nozzle that shows wear after two seasons; the orifice diameter expands and pressure drops over time.
Worth knowing:
- Keep a soft cloth and the supplied needle handy for each cleaning session.
- Store the hose in a cool, dry place and avoid sharp bends.
Try this:
- After each use, give the nozzle a quick visual check, wipe it down, and run the needle through the tip.
- Inspect the hose coupling, tighten if needed, then rinse and air‑dry the hose before coiling it loosely.
Recommended Products

20" LED Rainfall Shower Head: Enjoy a luxurious shower experience with the expansive 20" LED rainfall shower head. The integrated 64-color LED lights provide a relaxing ambiance, enhancing your shower experience while adding a touch of visual delight.

KRANZLE K1622TS 1600 PSI, 1.7 GPM PRESSURE WASHER

2-IN-1 PRESSURE WASHER & JETTER: Switch instantly between high-pressure surface cleaning and hydro jetting / drain cleaning with one professional-grade machine – perfect for driveways, patios, pipes, and sewer lines [Ships by LTL freight]
Pressure Washer Post‑Use Cleaning and Storage

Ever notice how a pressure washer can turn into a mess if you don’t clean it right after a job?
After you finish, run low‑pressure water through the machine for a minute or two to clear out any detergent. Let the trigger lock pop off, and give the unit a minute to cool before you wipe it down with a microfiber cloth.
Here’s the trick: check the nozzle and hose for leftover debris, then stash the washer in a cool, dry spot. A wall‑mounted rack or a padded case works great for keeping everything tidy.
Frankly, winter can be tough on the pump. Drain it completely, then fill it with RV antifreeze so no water stays inside to freeze and crack the housing.
If you have a gas‑powered model, add a fuel stabilizer to the tank; electric units just need a quick dry‑battery‑terminal check.
Worth knowing: close all caps, secure the power cord, and label the storage area so you can find it fast next time.
Do you ever wonder why some washers last longer than others? The answer often lies in how you store them.
Give these steps a try and you’ll keep your pressure washer ready for the next job without any surprises.
What’s your go‑to storage tip?
Pressure Washer Scheduled Oil Changes & Component Replacements
Ever notice how a pressure washer that used to glide through grime suddenly starts coughing? That hiccup usually means something’s overdue for a tune‑up. I’ve learned that keeping the pump oil fresh and swapping out worn parts before they bite you is the best way to keep the machine humming.
Oil changes
I swap the pump oil roughly every 40 hours, always using the grade the maker recommends. A quick spreadsheet entry each time helps you track service dates and stay within warranty limits.
Seasonal checks
When spring rolls around, I give the O‑rings, seals, and drive belt a good look. Any piece that feels brittle or shows cracks gets replaced right away. The same routine repeats in fall, so you catch wear before it turns into a costly break.
Water inlet and hose
Cleaning the water inlet screen is a simple step that prevents clogs. I also inspect the high‑pressure hose couplings for signs of wear, tightening or swapping parts as needed.
Nozzles and filter
Nozzles lose their bite over time, so I replace them once per season. A clear pump‑oil filter is just as crucial; I make sure it stays free of debris each service.
Worth knowing:
- Keep a log of every oil change and part swap.
- Replace O‑rings, seals, and belts at the start of each season.
- Clean the inlet screen and check hose couplings regularly.
- Swap out nozzles each season and clear the oil filter.
Following these steps has saved me from unexpected downtime and kept my warranty intact. Got any tips of your own? Share them below!
Recommended Products

SIMPSON PRESSURE WASHER FOR PROFESSIONALS: The Simpson Aluminum Series gas power washer cleans decks, driveways, siding, fencing, equipment, and graffiti; The cold water machine is great for contractors; 49-State Compliant (Not for sale in California)
dura-bore cast iron cylinder sleeve for extended life overhead valve design (OHV) for cooler operation and long valve life full pressure Lubrication with oil filtered PTO bearing16 amp charging system

1.Replacement 90 Sq. Ft Pool Filter: Provide an effective filtration for 90 Sq.ft pool.The package comes with pressure gauge and drain plug
Pressure Washer Troubleshooting Tips
Ever had your pressure washer sputter and lose power right in the middle of a job? It’s frustrating, but you can usually fix it without calling a pro.
First, check the water supply. Make sure the inlet screen isn’t clogged and the hose isn’t kinked. A clear path lets the pump pull enough water to keep the pressure up. Next, look at the nozzle. If it’s blocked, the flow drops fast. Give it a quick soak or a gentle brush to clear any debris.
Now, turn your attention to the pump. Low oil can cause the pump to overheat and lose pressure, so pop the cap and top it off if needed. While you’re there, give the power cord a wiggle—loose connections sometimes mimic low‑pressure symptoms. A solid plug means the pump can run at full speed.
Try this:
- Test the trigger valve for wear; a worn valve can let water slip past without building pressure.
- Replace any O‑rings that look cracked or flattened.
- Inspect the pump head for leaks; even a tiny drip can sap power.
If the washer still feels weak, think about how you’re handling it. An awkward grip or a bent handle can tilt the unit, restricting flow. Adjust your stance and keep the hose level to let the water move freely.
Worth knowing:
- Some models have a built‑in pressure gauge; compare its reading to the spec sheet.
- The warranty guide often lists known defects—check it before you decide on a service call.
You’ve got the basics down, so give these steps a try and see if the pressure bounces back. Ready to get your washer humming again?
Recommended Products

1500 PSI Max Pressure

210cc Powerease Engine
Maximum Volume (GPM) 4.5/5.6
Frequently Asked Questions
How Often Should I Replace the Pressure Washer’s Water Inlet Screen?
I’d say replace the water inlet screen annually, but inspect regularly—like a watchful guardian spotting crumbs before they clog, ensuring clean flow and preventing costly breakdowns.
Can I Use a Regular Garden Hose With the Pressure Washer?
I tell you you can hook a regular garden hose up, just make sure you use the proper adapter fittings for garden hose compatibility, and check the connection’s seal before turning on the washer.
What Is the Best Way to Store the Washer in a Humid Climate?
I’ve found 60 % of humid‑climate owners report rust after a year, so I store my washer elevated, off concrete, and run a dehumidifier nearby to keep moisture at bay.
Do I Need a Special Outlet or Circuit for the Electric Pressure Washer?
You’ll need a dedicated circuit with GFCI protection; I always install a 20‑amp, 240‑volt outlet on its own breaker, ensuring the washer runs safely and meets code requirements.
How Can I Prevent Rust on the Pump’s Metal Components?
I’ll keep the pump dry, rinse it after each use, and coat metal parts with rust‑inhibitor. I’ll also install sacrificial anodes to combat galvanic corrosion and protect the pump’s metal components.