As an Amazon Associate, we earn from qualifying purchases. Some links on this site are affiliate links at no extra cost to you. Our recommendations are based on thorough research and editorial judgment.
How to Prevent Etching and Damage on Concrete, Wood, and Brick
I start by testing a 12‑inch square spot with a citrus‑based etcher diluted 1:12 for concrete, 4:1 for brick, and a light spray for wood, noting fizz time and discoloration; I scrub each surface to remove dust, grease, and loose particles, then protect nearby materials with weighted tarps and sandbags. I apply the etcher evenly using a pump sprayer, keep the area uniformly wet for five‑to‑fifteen minutes, and re‑wet any dry patches. I neutralize with a commercial pH‑balanced solution, rinse until clear, verify a 6.5‑8.0 pH, let the surface dry 24 hours, and seal with a penetrating primer and long‑term sealant, and the next sections will reveal deeper details.
Key Takeaways
- Perform a spot test on a hidden area to determine appropriate dilution and dwell time before full application.
- Use eco‑friendly, bio‑based etchers (e.g., citrus‑based) and dilute according to material density to avoid excessive chemical reaction.
- Keep the surface uniformly wet during the dwell period, re‑wet any drying spots, and avoid applying overly thick layers.
- Immediately neutralize with a pH‑balanced solution, rinse thoroughly with fresh water, and verify a neutral pH (6.5‑8.0) before drying.
- Protect adjacent surfaces with tarps, seal the etched area after it fully dries, and schedule regular inspections to catch early cracks.
Choosing the Right Concrete Etching Method for Wood, Wood, & Brick
Ever tried to get a smooth, non‑slippery surface on wood, wood‑frame walls, or brick and ended up with a mess? The trick is picking the right etching method for each material’s quirks.
Choosing the Right Concrete‑Etching Method for Wood, Wood‑Frame Structures, and Brick
First, test a tiny spot with your acid. Watch for fizz or discoloration, then feel how much water the spot so up. That tells you if the texture will turn out the way you want.
For wood, skip strong acids. A citrus‑based etcher does the job without chewing up the fibers, leaving just enough roughness for paint or sealant to stick.
- Wood: Use a citrus‑based etcher, apply lightly, and let it dry.
- Brick: Mix a no‑rinse formula 4:1 with water; it respects the brick’s porosity and gives a uniform matte finish.
I always record how long the acid stays on the surface and compare the result to the look you’re after. That way you get consistent, repeatable outcomes every time.
Frankly, the key is a quick pre‑test and a careful note of dwell time. Worth knowing: a small spot test can save you a whole day of rework.
Give it a try on a hidden corner before you go all‑in. Have you found a favorite etcher that works for both wood and brick?
Preparing Surfaces for Concrete, Wood, & Brick Etching
Ever tried to etch a pattern into concrete, wood, or brick and ended up with a patchy mess? The secret is in the prep work, and it’s easier than you think.
First, give each surface a good look‑over. Grab a flashlight and run your hand over the area to spot dust, grease, or leftover paint. A quick moisture check with a calibrated meter will point out any damp spots that could mess with the acid reaction. Once you’re sure it’s dry, grab a stiff‑bristle brush for the concrete, a solvent‑free cloth for the wood, and a pressure washer for the brick. Let everything air‑dry for at least thirty minutes, then drape nearby zones with tarps to keep the acid from wandering.
Worth knowing: a clean, dry base is the foundation for a uniform etch depth and helps you avoid uneven lines or accidental damage to surrounding material.
- Scrub concrete with a stiff‑bristle brush.
- Wipe wood with a solvent‑free cloth.
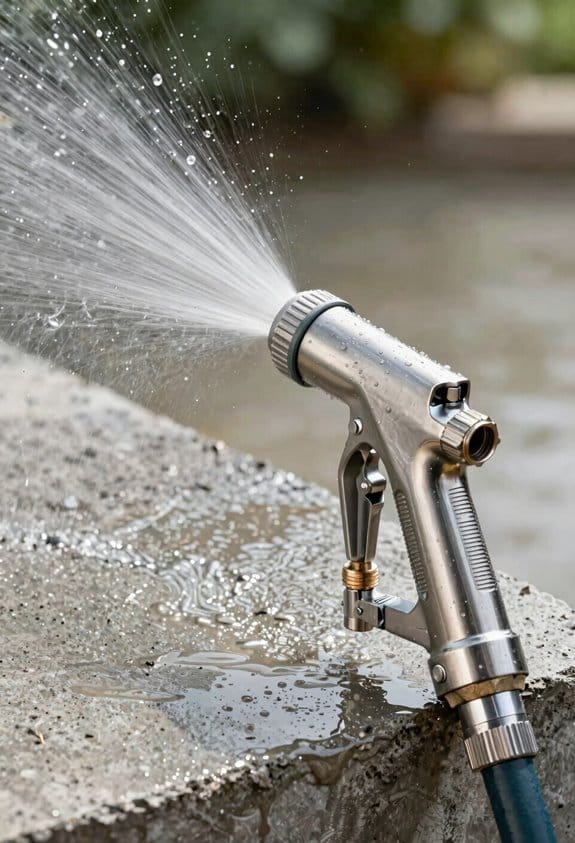
- Pressure‑wash brick to clear loose particles.
After the surfaces are dry, protect the area around your project. Cover floors, furniture, and any other surfaces with tarps or plastic sheeting. This step saves you from stray splashes and keeps the whole space tidy.
Frankly, when you follow these steps, you’ll see a consistent, clean etch every time. It takes a little extra time up front, but the results are worth it.
Got a favorite tip for prepping surfaces? Share it below!
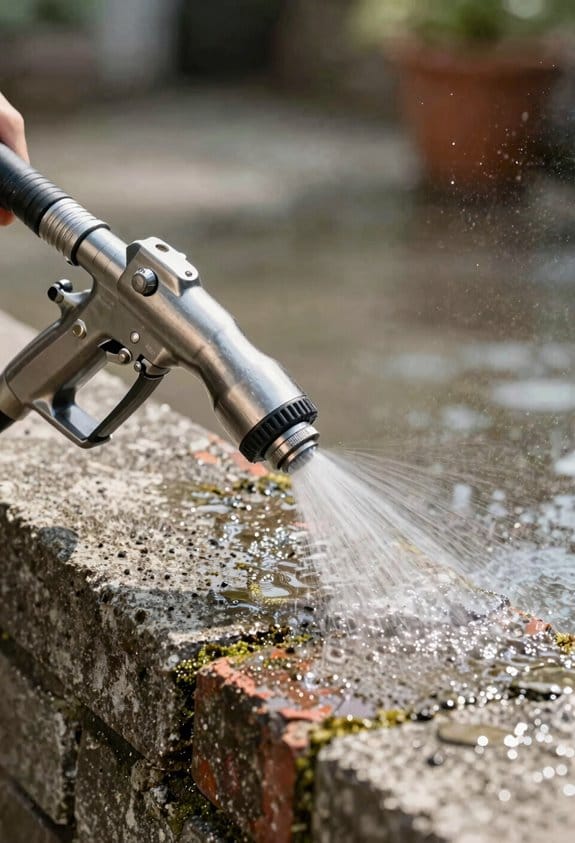
Applying Etch Safely & Evenly to Achieve the Desired Profile
Got a stubborn surface that just won’t take the etch evenly? You’re not alone—getting a smooth, consistent profile can feel like a juggling act.
First, grab a pump sprayer or a tight‑nap roller and keep the area uniformly wet. The fizzing reaction needs to stay active for the whole dwell time, so don’t let it dry out. I always wear goggles, gloves, and a respirator, and I open windows while running a portable exhaust fan to clear any vapors fast.
Try this:
- Test a small patch first, then work in sections.
- Use a tight‑nap roller for no‑rinse products; it spreads the acid evenly without overspray.
- Keep the work zone free of dust or debris that could mess up the profile.
Frankly, the key is a steady hand and a bit of patience. Watch the reaction for the prescribed five‑to‑fifteen‑minute dwell, and make sure the solution stays active but doesn’t dry. If you notice pooling or streaks, pause and re‑wet the spot before moving on.
A quick tip for ventilation: set up a fan that pulls air out the window, not just across the room. That way, the fumes are whisked away before they linger. And remember, safety gear isn’t optional—those goggles and respirator protect you from nasty fumes.
When you finish, give the surface a once look. It should be free of uneven spots and ready for the next step. Have you tried this method before, or do you have a different trick that works for you?
Neutralizing, Rinsing, and Verifying the Etched Surface
Ever had that stubborn etch residue that just won’t quit? It’s frustrating, but a quick fix can save you a lot of hassle.
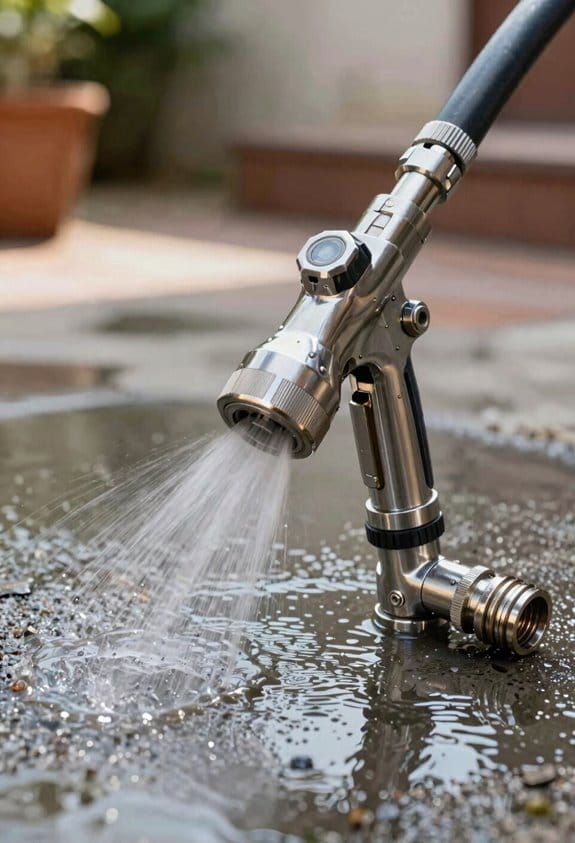
First, grab a commercial neutralizer—ProClean works great. Pour it over the surface and let it fizz, then grab a stiff broom and scrub while you rinse with clean water. Keep scrubbing until the water runs clear; any leftover powder can mess up the next layer.
Worth knowing:
- Use a fresh bucket of water for each rinse.
- Check the water color; if it’s still cloudy, rinse again.
After the rinse, test the pH. Stick a few indicator strips on different spots; you’re looking for a reading between 6.5 and 8.0. If any strip shows acidity, dip the area in neutralizer again and give it another good rinse.
Next, give the surface a once look. You want a uniform texture—no glossy patches or uneven spots. That smooth finish means you’re ready for the next step.
Frankly, the whole process only takes a few minutes, but it makes a huge difference in adhesion later on. Try this: keep a small spray bottle of neutralizer handy for quick touch‑ups.
Got any tips of your own? Share them below!
Drying Time, Sealing, and Post‑Etch Maintenance
Got a fresh etch on your concrete and wondering when you can seal it without ruining the finish?
When the etch is fully neutralized and rinsed, let the concrete dry for at least 24 hours before you seal. Moisture left in the slab can break the bond and cause blistering. I usually check the surface temperature with a handheld meter; if it reads under 50 °F, that’s a good sign there’s still hidden dampness.
Frankly, after it’s dry I spread a moisture‑mitigation primer that seeps about three millimeters deep, then I follow up with a long‑term concrete sealant. The sealant goes on in thin, even layers, and each layer needs about 30 minutes to cure before you add the next one.
Worth knowing: post‑etch maintenance is pretty simple. Clean the surface now with a pH‑neutral detergent, and plan to re‑apply a topcoat every 12‑18 months. Keep an eye out for cracks that could let water in, because those are the real culprits behind future damage.
If you’re wondering how often to check for problems, a quick visual scan every few months does the trick. Spotting a crack early means you can fill it before water gets in and spreads.
Keeping Nearby Wood & Brick Safe From Acid Exposure
Got a leak of acid near your wood deck or brick patio? You’ve probably stared at the mess and wondered how to keep those surfaces from getting ruined. I’ve been there, and a simple set‑up saved my project from costly repairs.
First, grab a heavy‑duty tarp or a sheet of clear plastic. Lay it over the wood or brick, then tape the edges down and add a few sandbags or bricks for weight. Make sure the tape runs all the way around the cover so nothing can slip through. If you’re covering brick, slide a thin plywood board under the tarp; it stops the material from sagging and gives the acid‑resistant barrier a flat base.
Next, check the seams. Overlap them by a few inches and seal the overlap with waterproof tape. This little step blocks vapor and any stray drops from getting into the pores of the wood or the joints of the brick. While you’re at it, keep an eye out for drips. If you see any, wipe them right away with a neutralizing solution—baking soda mixed with water works fine—to stop corrosion before it starts.
Worth knowing: after the job, pull the tarp off slowly. Look for any residue that might have settled on the surface. If you spot anything, give the area a gentle scrub with mild detergent and rinse well. This final clean‑up keeps the wood and brick ready for the next season.
Frankly, the whole process takes less than an hour and saves you a lot of hassle later. You’ll be glad you took a few minutes to protect those surfaces now rather than dealing with cracked wood or stained brick down the line.
Got any other tips for handling acid spills? Share them below!
Eco‑Friendly Etching Options & Common Mistakes to Avoid
Ever tried to etch concrete and felt stuck with harsh chemicals that smell like a lab? You’re not alone—many DIYers dread the fumes and the mess that comes with traditional muriatic acid. The good news is you can get the same clean‑look CSP1 profile that ICRI calls for, without the headache.
I’ve swapped the old‑school acid for citrus‑based or bio‑based etchers, and the results are solid. The milder acids react predictably with calcium hydroxide, giving you a controlled fizz you can actually see on a pH strip. Plant‑safe options like CitrusEtch break down into harmless organic matter after use, so you’re not polluting the garden next door.
Try this:
- Test a 12‑inch square before you go all in.
- Note the reaction time and fizz intensity.
- Dilute to 1:12 for dense concrete, then watch the fizz work.
Common mistakes trip up even seasoned pros. Over‑diluting leaves a weak profile, while a layer that’s too thick creates uneven fizz and excess runoff. Always rinse with clean water, then neutralize with a pH‑balanced solution. A simple tarp can protect surrounding vegetation from stray splatter.
Frankly, the key is consistency. Keep your dilution steady, watch the fizz, and you’ll avoid most of the pitfalls. The approach cuts chemical risk, meets environmental standards, and still gives you that crisp finish you’re after.
Got a project in mind? Give a bio‑based etcher a try and see how easy clean, safe concrete work can be.
Frequently Asked Questions
Can I Etch Concrete in Freezing Temperatures Without Damaging the Surface?
I’d say no—cold curing can cause frost damage, so etching concrete in freezing temperatures risks cracking and surface degradation. Wait for above‑zero conditions or use heated enclosures to protect the slab.
What Impact Does High Humidity Have on Etch Reaction Time?
I’ll tell you: high humidity slows the reaction kinetics because excess moisture boosts moisture absorption, diluting the acid and extending the fizzing period before the surface profiles properly.
Do I Need to Remove Existing Sealers Before Using Eco‑Friendly Etchers?
I’d say yes—remove the old sealer first. It guarantees surface compatibility and lets you run proper adhesive testing, so the eco‑friendly etcher can bond uniformly without interference.
Can I Reuse the Neutralizing Solution for Multiple Etching Jobs?
I’ll tell you: you can reuse the neutralizing solution if you follow recycling protocols and guarantee its storage stability, but only after testing its potency and keeping it sealed between jobs.
Will Using a Pressure Washer After Etching Affect the Final Profile?
I’ll tell you, pressure washing right after etching can over‑rewet the surface, flattening the profile you just created. It’s best to let the etch dry completely before any rinsing or washing.