As an Amazon Associate, we earn from qualifying purchases. Some links on this site are affiliate links at no extra cost to you. Our recommendations are based on thorough research and editorial judgment.


The Role of Pressure Washers in the Growing DIY Home Improvement Movement

I’ve seen pressure washers transform DIY projects by cutting cleaning time, lowering labor costs, and delivering measurable energy savings, so I recommend selecting a model with 2–3 gpm flow and 1300–1800 psi for wood decks, 2000–3000 psi for concrete driveways, and a three‑year warranty for reliability. Test a hidden spot first, wear goggles and gloves, and choose the appropriate nozzle—25‑degree for wood, 0‑degree for concrete—to avoid damage. Drain, flush, and store the unit after each use to extend its life, and you’ll find the ROI quickly; the next sections will show exactly how.
Key Takeaways
- Pressure washers enable rapid, high‑quality cleaning, making DIY exterior projects like decks, siding, and driveways feasible for homeowners.
- Adjustable PSI and nozzle selection protect materials while delivering effective grime removal, reducing the need for professional services.
- Cost‑effective rentals and low‑maintenance ownership lower project expenses, offering a clear ROI compared to hiring contractors.
- Safety protocols—protective gear, hose checks, and small‑area test patches—ensure safe DIY use and prevent damage.
- Regular post‑use maintenance extends equipment lifespan, keeping pressure washers ready for frequent DIY home‑improvement tasks.
How to Choose the Right Pressure Washer for Your DIY Project
Ever stared at a dirty deck and thought, “I could use a pressure washer, but which one won’t waste my time or cash?”
Pick a washer that fits the size of your job, the surface you’re cleaning, and the power you need. First, check the flow rate. A 2–3 gpm unit handles decks and patios nicely, while a 4 gpm model is better for larger siding jobs. Next, match the PSI to the material. For wood, 1300–1800 psi cleans without gouging; for concrete, aim for 2000–3000 psi.
Frankly, a solid warranty matters. Look for at least three years of coverage so you’re not stuck with a busted motor early on. A lightweight, easy‑to‑handle design will make the job less of a workout, yet you still want enough torque to tackle stubborn grime.
Worth knowing: compare price against performance data from independent tests. That way you can see if you’re really getting good value for your DIY budget.
- Check the flow rate first – 2–3 gpm for decks, 4 gpm for siding.
- Make sure the PSI matches the surface – 1300–1800 psi for wood, 2000–3000 psi for concrete.
When you line up the right flow, pressure, warranty, and price, you’ll spend less time guessing and more time enjoying a clean space. Ready to pick the perfect washer for your next project?
Gear Up & Get Ready: Safety Tips Before You Start Washing
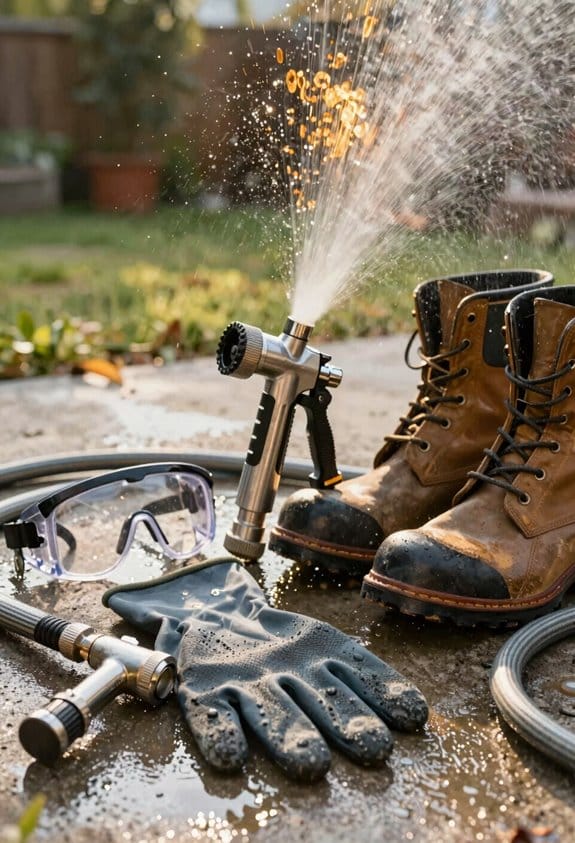
Ever had a pressure washer blast a piece of wood into splinters because you skipped the safety steps? It’s easy to overlook the little things, but a quick prep can keep you from nasty burns or eye injuries.
Before you even plug it in, do a fast visual check. Look over the hoses for cracks, make sure the pressure gauge reads the setting you need, and verify the water source is steady. A quick once can stop a leak before it becomes a mess.
Try this:
- Slip on safety goggles and waterproof gloves.
- Wear a long‑sleeve shirt and sturdy boots.
- Tie back long hair, zip up loose clothing, and keep pets out of the area.
The spray can hit 150 psi, so those basics matter. Once you’re suited up, give the nozzle a test run on a hidden spot. That way you’ll see how the water hits before you tackle the big surface.
Frankly, the most common accidents—about 78 %—happen because people skip eye or skin protection. You don’t want to be part of that stat. Double‑check everything, and you’ll avoid the surprise that can ruin a weekend project.
Finally, once the nozzle’s flow feels right, you’re ready to go. Just remember to stay focused, keep your footing solid, and don’t rush. Your house (and your hands) will thank you.
Ready to start cleaning safely? Let’s get that pressure washer humming without a hitch.
Step‑by‑Step Guide to Cleaning Exterior Surfaces Efficiently
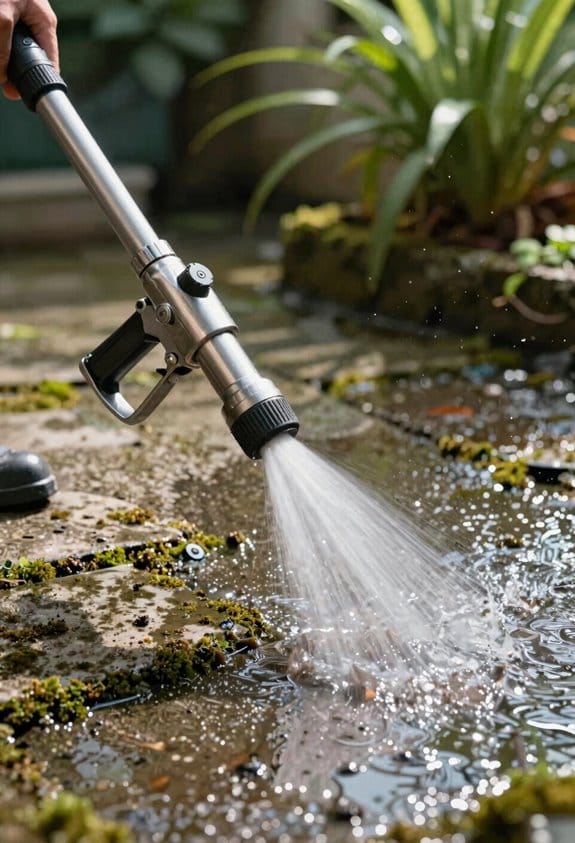
Ever notice how a grimy patio makes your whole yard feel neglected? You’re not alone—most of us wrestle with stubborn dirt on decks, fences, and walkways. The good news is you can get that fresh look back without hiring a pro.
First, take a quick look at the material you’re cleaning. Is it wood, concrete, or metal? Knowing its condition helps you pick the right nozzle and pressure. A low‑pressure rinse first will wash off loose debris without splashing everywhere.
Next, give the surface a good sweep to clear leaves and dirt. Then, mix a mild detergent with water and spray it on using a wand. Let it sit for a few minutes—about three to five—so the grime loosens but the material stays safe.
Try this:
- Increase the pressure to the manufacturer’s recommended PSI.
- Move the wand in overlapping, 45‑degree strokes for even coverage.
- Rinse thoroughly, then dry with a microfiber towel or an air‑blower to avoid water spots and mold.
After you’re done, walk the area and spot‑check for any missed patches. If you see any, repeat the process where needed. Finally, store your pressure washer in a dry spot and keep the nozzle clean for next time.
Fair warning: using too much pressure on delicate wood can cause damage, so always start low and work your way up.
Got a favorite cleaning tip of your own? Share it in the comments and let’s keep those exteriors sparkling together.
Choosing the Right Nozzle for Different Materials
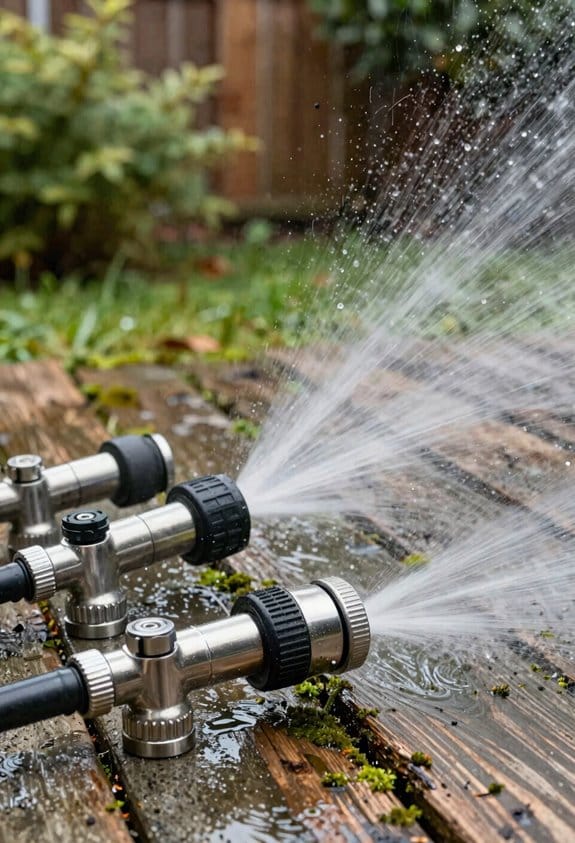
Ever tried cleaning a surface only to end up with scratches or streaks? The secret often lies in the nozzle you choose. Different spray patterns and pressure ratings suit different materials, and picking the right one can save you time and hassle.
For wood, a 25‑degree nozzle cuts the etching by about 30 % compared to a straight 0‑degree jet. That means a smoother finish without the rough spots. When you’re tackling concrete, a 0‑degree nozzle speeds up grime removal by up to 45 % while keeping water use low. It’s a big win if you don’t want a soggy mess.
Try this:
- 40‑degree nozzle for painted siding – it’s gentle enough to keep paint from lifting.
- 15‑degree nozzle for brick – it gives enough force to lift mortar stains without cracking the surface.
Metal railings benefit from a 25‑degree nozzle; it balances pressure and spread, helping you avoid rust‑inducing pitting. Before you go full throttle, test on a hidden spot and dial the pressure to the manufacturer’s limits. A quick rinse afterward stops any residue from building up.
Frankly, the easiest way to keep your work looking sharp is to match the nozzle to the material first. You’ll notice cleaner results and less wear on the surface.
What’s the one nozzle you’ll try next?
Pressure Washing for Energy‑Saving Renovations
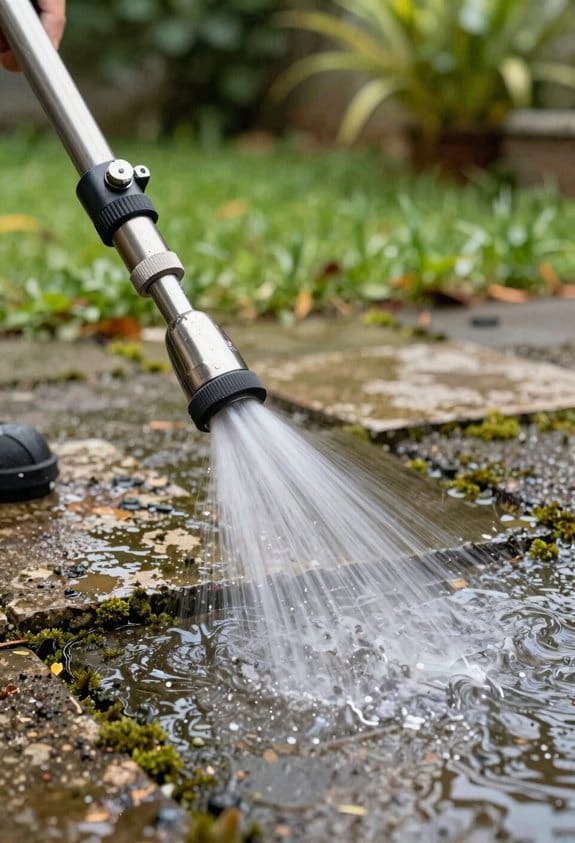
Ever notice how a dirty exterior makes your house feel colder in winter? A quick pressure‑wash can actually help you save on heating bills, and it’s easier than you might think.
Choosing the right nozzle
A 25‑degree nozzle is a solid pick for wiping down exterior walls. It gives you enough pressure to lift grime without gouging the surface. After you’ve cleared away the dirt, grab an infrared camera and scan the walls for heat loss. That’ll show you where the insulation might be thin or missing. A clean, sealed façade can cut your heating load by up to 12 percent, according to the 2026 Home Energy Study.
What to watch out for
- Rinse with low‑temperature water so you don’t damage any sealants.
- Let the area dry completely before you add any weather‑proofing layers.
- Double‑check the cavity behind the wall to make sure it’s still intact.
A quick workflow
Try this:
- Spray with the 25‑degree nozzle, moving in steady, overlapping strokes.
- Scan with the infrared camera and note any cold spots.
- Inspect the insulation and seal any gaps you find.
- Finish with a low‑temp rinse and a thorough dry‑down.
Frankly, following these steps gives you measurable energy savings while keeping your home’s structure sound. Have you tried this approach on your own house?
Pressure‑Washer Cost‑Saving Tips: DIY vs. Pro for Major Jobs
Ever stared at a grimy driveway and wondered if you could tackle it yourself without blowing your budget? When you weigh the cost‑saving potential of a pressure‑washer for big jobs, you’ve got to look at the upfront equipment expense, the time you’ll spend, and how the tool holds up over the long run. I start by figuring out the rental or purchase price, then I compare my own labor time to what a pro would charge, including travel fees and hourly rates. A typical driveway cleaning runs $150‑$200 if you hire a professional, while a DIY rental at $60 plus your own effort usually lands between $120‑$140, giving you a better return if you keep the unit in good shape.
Frankly, the biggest win comes from picking a model with a reliable pump and checking the pressure settings before you dive in. Test the washer on a small patch first—this helps you avoid damage and makes sure the results stay consistent across a larger surface. When you’re done, you’ll see a clear picture of the savings, the effort involved, and whether DIY or outsourcing makes the most sense for your next big project.
Try this:
- Choose a pressure‑washer with a sturdy pump and adjustable pressure.
- Run a quick test on a hidden spot to confirm the settings won’t harm the material.
Maintain & Store Your Pressure Washer to Extend Its Life
Ever notice how a pressure washer can turn into a rusted mess if you don’t treat it right after each job?
First off, drain the pump and flush the hose right after you’re done. Left‑over water loves to eat away at seals, and that leads to wear way faster than you’d think. A quick wipe‑down of the outside with a dry cloth helps too—just make sure the nozzle isn’t clogged and tighten any loose fittings before you put it away.
For seasonal storage, pick a dry spot in the garage and lay a breathable tarp over the machine. Put it on a sturdy shelf so it isn’t sitting on a damp floor. If you’re using a gas‑powered model, label the fuel tank so you won’t mix it up later.
Frankly, a short, low‑pressure cycle with clean water before a long idle period does wonders for the engine. After that, add a light oil to the pump’s bearing if the manual says to do so. It’s a simple step that keeps the internals moving smoothly.
Try this: coil the power cord loosely, avoid sharp bends, and store it away from heat sources. That little habit saves you from frayed wires and a costly replacement down the road.
Worth knowing: keep a small checklist handy—drain, flush, wipe, check nozzle, tighten fittings, run a short cycle, add oil, store cord, label fuel. It only takes a minute, but it pays off with a washer that’s ready for the next project.
Got a favorite tip for keeping your gear in shape? Share it in the comments!
Frequently Asked Questions
How Does Water Temperature Affect Cleaning Efficiency?
I’ve found hot water cuts grime faster than cold because temperature effects boost solvent action, loosen oils, and dissolve stains more efficiently, so I always choose hot for toughest dirt and cold for delicate surfaces.
Can I Use a Pressure Washer on Painted Surfaces Without Damage?
Can I use a pressure washer on painted surfaces without damage? I say yes, if you choose pressure safe nozzles and gentle spray techniques, keeping distance and pressure low to protect the finish.
What Is the Recommended PSI for Cleaning Solar Panels?
I recommend using a solar‑safe psi of about 300–400 psi for panel rinsing; it’s gentle enough to avoid damaging cells while still removing grime efficiently.
How Often Should I Replace the Pump Seals?
I replace pump seals every 1,200‑1,500 service intervals, depending on usage. If you notice leaks or reduced pressure, swap them sooner; otherwise, stick to that schedule to keep your washer running smoothly.
Are Electric Pressure Washers Suitable for Large‑Scale Exterior Jobs?
I’ve tackled a 2,000‑sq‑ft patio with a 2 kW battery‑model washer, and it held up—just make sure you pair it with extension wands for reach, and you’ll cover large exteriors efficiently.


